
Can you paint kitchen cabinets that are already painted? Yes, you can absolutely paint kitchen cabinets that are already painted! In fact, painting previously painted cabinets is a common and cost-effective way to refresh your kitchen without the expense of replacing the cabinets entirely. However, achieving a flawless finish requires careful prep work, the right materials, and a meticulous approach. This kitchen cabinet painting guide will walk you through each step to ensure a beautiful and long-lasting result.
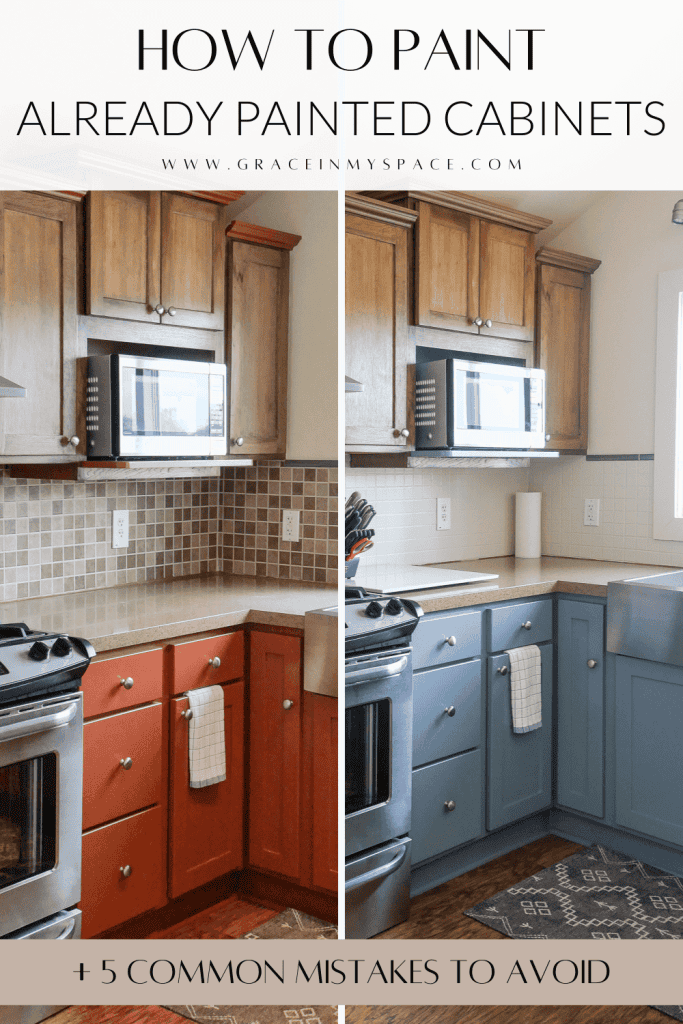
Image Source: graceinmyspace.com
Assessing the Current Cabinet Condition
Before you start picking out new paint colors, take a close look at your cabinets first. How is the old paint doing? Do you see any chips, scratches, or spots where it’s peeling off? Spotting these issues now will help you figure out exactly what you need to do to get them ready.
- Evaluate the existing paint type: Knowing what type of paint is already on your cabinets (oil-based, latex, etc.) will help you choose a compatible primer and topcoat. If you’re unsure, test a small, inconspicuous area with denatured alcohol. If the paint softens or dissolves, it’s likely latex. If it doesn’t, it’s likely oil-based.
- Check for damage: Look for chips, scratches, dents, or water damage. These will need to be addressed before painting.
- Assess the hardware: Are the hinges and handles in good condition, or do they need replacing? Decide whether you’ll reuse them or opt for new ones.
Essential Supplies and Tools
Gathering your supplies upfront will streamline the painting process. Here’s a comprehensive list:
- Cleaning Supplies:
- Degreaser (e.g., TSP – Trisodium Phosphate, or a TSP substitute)
- Clean cloths or rags
- Sponge
- Prep Tools:
- Screwdriver or drill (for removing hardware)
- Drop cloths or plastic sheeting
- Painter’s tape
- Sandpaper (120-grit, 220-grit)
- Sanding block or orbital sander
- Tack cloth
- Wood filler or putty (if needed)
- Primer (high-quality bonding primer)
- Painting Tools:
- Paintbrushes (high-quality, angled for trim)
- Small foam roller (for smooth surfaces)
- Paint tray and liners
- Paint can opener
- Stir sticks
- Paint and Finish:
- Best paint for repainting cabinets: High-quality acrylic latex or alkyd paint designed for cabinets and trim.
- Optional: Clear topcoat (for added durability)
- Safety Gear:
- Safety glasses
- Dust mask or respirator
- Gloves
Preparing Painted Kitchen Cabinets for Repainting
Proper preparation is the key to paint adhesion on painted cabinets and a professional-looking finish. Skimping on these steps will likely result in peeling, chipping, and an overall unsatisfactory outcome. Here’s how to prep painted kitchen cabinets:
Step 1: Remove Hardware and Doors/Drawers
Remove all cabinet doors, drawers, knobs, pulls, and hinges. Label each door and drawer with its corresponding cabinet location to ensure easy reinstallation later. Store screws and hardware in labeled bags to prevent confusion.
Step 2: Thorough Cleaning
Cabinets, especially in the kitchen, accumulate grease, grime, and dust. Use a degreaser like TSP (or a TSP substitute) and warm water to thoroughly clean all surfaces. Rinse well with clean water and let dry completely.
Step 3: Sanding
While how to paint kitchen cabinets without sanding is a popular question, some light sanding is almost always necessary, even when repainting. The goal isn’t to remove the existing paint entirely, but to create a slightly rough surface (also known as creating “tooth”) that the primer can grip.
- Lightly sand all surfaces with 220-grit sandpaper. Focus on areas that are glossy or have imperfections.
- For chipped or peeling areas, use 120-grit sandpaper to smooth out the edges before moving to 220-grit for the entire surface.
- If the existing paint is oil-based and you’re switching to latex, sanding is even more crucial.
- After sanding, remove all dust with a tack cloth.
Step 4: Repairing Imperfections
Fill any holes, dents, or scratches with wood filler or putty. Allow the filler to dry completely according to the manufacturer’s instructions, then sand smooth.
Step 5: Taping and Protecting
Use painter’s tape to mask off any areas you don’t want to paint, such as walls, countertops, or the inside of cabinet frames. Cover countertops and floors with drop cloths or plastic sheeting to protect them from paint splatters.
Priming: The Foundation for a Lasting Finish
Priming is a critical step, especially when painting over an existing finish. A good primer will:
- Improve paint adhesion
- Block stains and prevent bleed-through
- Create a uniform surface for the topcoat
Choose a high-quality bonding primer specifically designed for cabinets and trim. Apply a thin, even coat using a brush or roller. Allow the primer to dry completely according to the manufacturer’s instructions. Lightly sand the primed surface with 220-grit sandpaper to remove any imperfections and create an even smoother surface for the paint. Wipe away any dust with a tack cloth.
Painting Previously Painted Cabinets: Achieving a Flawless Look
Now for the main event: applying the paint!
Choosing the Right Paint
The best paint for repainting cabinets is crucial for durability and aesthetics.
- Acrylic Latex Paint: Water-based, easy to clean up, and low in VOCs (volatile organic compounds). Choose a 100% acrylic latex paint for the best durability.
- Alkyd Paint: Oil-based, durable, and provides a smooth, enamel-like finish. However, it has a strong odor, requires mineral spirits for cleanup, and can yellow over time. Alkyd paint are a great option for cabinet refinishing over existing paint.
- Hybrid Paints: Combine the best qualities of both latex and alkyd paints, offering durability, easy cleanup, and low VOCs.
Consider using a paint specifically formulated for cabinets and trim, as these paints are designed to withstand wear and tear.
Application Techniques
- Apply the first coat of paint: Use a high-quality brush for edges and detailed areas, and a small foam roller for flat surfaces. Apply the paint in thin, even coats, avoiding drips and runs.
- Allow the first coat to dry completely: Refer to the manufacturer’s instructions for drying times.
- Lightly sand the first coat: Use 320-grit sandpaper to smooth out any imperfections. Wipe away dust with a tack cloth.
- Apply the second coat of paint: Use the same techniques as the first coat.
- Optional: Apply a clear topcoat: For added durability and protection, consider applying a clear topcoat after the second coat of paint has dried completely. Choose a water-based polyurethane or polyacrylic topcoat for easy cleanup and low odor.
Tips for a Smooth Finish
- Work in a well-ventilated area.
- Use a paint conditioner to improve flow and leveling.
- “Tip off” the paint by lightly dragging the brush across the painted surface in one direction to eliminate brush marks.
- Don’t overload your brush or roller with paint.
- Apply multiple thin coats rather than one thick coat.
- Allow adequate drying time between coats.
Reassembly and Finishing Touches
Once the paint is completely dry, carefully remove the painter’s tape. Reinstall the hardware, doors, and drawers. Clean up any paint splatters or drips. Step back and admire your updated kitchen!
Professional vs. DIY Repainting Kitchen Cabinets
While this kitchen cabinet painting guide provides a detailed overview of the DIY process, it’s important to consider whether you should tackle the project yourself or hire a professional.
Here’s a comparison:
| Feature | DIY | Professional |
|---|---|---|
| Cost | Lower (materials only) | Higher (labor and materials) |
| Time | Longer (requires significant time commitment) | Shorter (professionals have experience and specialized tools) |
| Skill | Requires patience, attention to detail, and some DIY experience | High level of skill and experience |
| Equipment | Requires purchasing or renting tools and equipment | Professionals have their own equipment |
| Quality of Finish | Can be good with careful preparation and execution, but may not be perfect | Typically a higher quality finish due to expertise and professional equipment |
| Warranty | No warranty | May offer a warranty on their work |
Consider hiring a professional for repainting kitchen cabinets professionally if:
- You lack the time or patience for a DIY project.
- You’re not comfortable with the required skills.
- You want a flawless, professional-grade finish.
- Your cabinets are in poor condition and require extensive repairs.
Updating Painted Kitchen Cabinets: Beyond the Paint
Updating painted kitchen cabinets doesn’t have to stop at just a fresh coat of paint. Consider these additional ideas to transform your kitchen:
- New Hardware: Replacing old knobs and pulls with new ones can dramatically change the look of your cabinets.
- Under-Cabinet Lighting: Adding under-cabinet lighting can brighten your workspace and highlight your countertops.
- New Countertops: If your budget allows, consider replacing your countertops for a complete kitchen makeover.
- Decorative Molding: Adding decorative molding to your cabinets can add architectural interest and visual appeal.
- Glass Inserts: Replacing solid cabinet doors with glass inserts can create a more open and airy feel.
Maintenance and Care
To keep your newly painted cabinets looking their best, follow these maintenance tips:
- Clean regularly with a mild soap and water solution.
- Avoid harsh chemicals or abrasive cleaners.
- Wipe up spills immediately to prevent staining.
- Touch up any chips or scratches as soon as possible.
FAQ: Frequently Asked Questions
- What is the best paint sheen for kitchen cabinets? Satin or semi-gloss are generally recommended. They offer a good balance of durability and cleanability. Matte finishes are harder to clean and more prone to staining.
- Can I paint laminate cabinets? Yes, but it requires special preparation and a bonding primer designed for slick surfaces.
- How long does it take to paint kitchen cabinets? The time can vary depending on the size of your kitchen and the complexity of the project, but it typically takes 3-7 days.
- How do I prevent brush marks when painting cabinets? Use a high-quality brush, apply thin coats, and “tip off” the paint. Adding a paint conditioner can also help.
- What if the paint starts to peel? This usually indicates poor preparation. Remove the loose paint, sand the area, prime, and repaint.
- Can I spray paint my kitchen cabinets? Yes, spraying can provide a very smooth finish, but it requires specialized equipment and a controlled environment to prevent overspray.
- How to paint kitchen cabinets without sanding completely? Chemical deglossers can be used. However, some light sanding is still generally recommended for optimal paint adhesion.
- Are there special considerations for painting over dark paint? Yes, you may need multiple coats of primer to prevent the dark color from bleeding through. Consider using a tinted primer that is close to your new paint color.
Painting over old cabinet finish is a rewarding project that can significantly enhance the look and feel of your kitchen. By following this comprehensive kitchen cabinet painting guide, you can achieve a beautiful and durable finish that will last for years to come. Remember that taking the time to properly prep, use quality materials, and paint with patience is key to success. Good luck and happy painting!

Hi, I’m Larry Fish, the mind behind MyGrinderGuide.com.. With a passion for all things kitchen appliances, I created this blog to share my hands-on experience and expert knowledge. Whether it’s helping you choose the right tools for your culinary adventures or offering tips to make your kitchen more efficient, I’m here to guide you. My goal is to make your time in the kitchen not only easier but also enjoyable! Welcome to my world of kitchen mastery!