
Good news: you can definitely swap out your kitchen sink without tearing up your countertops. It might sound a little scary at first, but with the right tools and a little patience, it is actually pretty doable. This guide breaks it all down for you, covering different situations and giving you the tips you need to get the job done without damaging your counters.
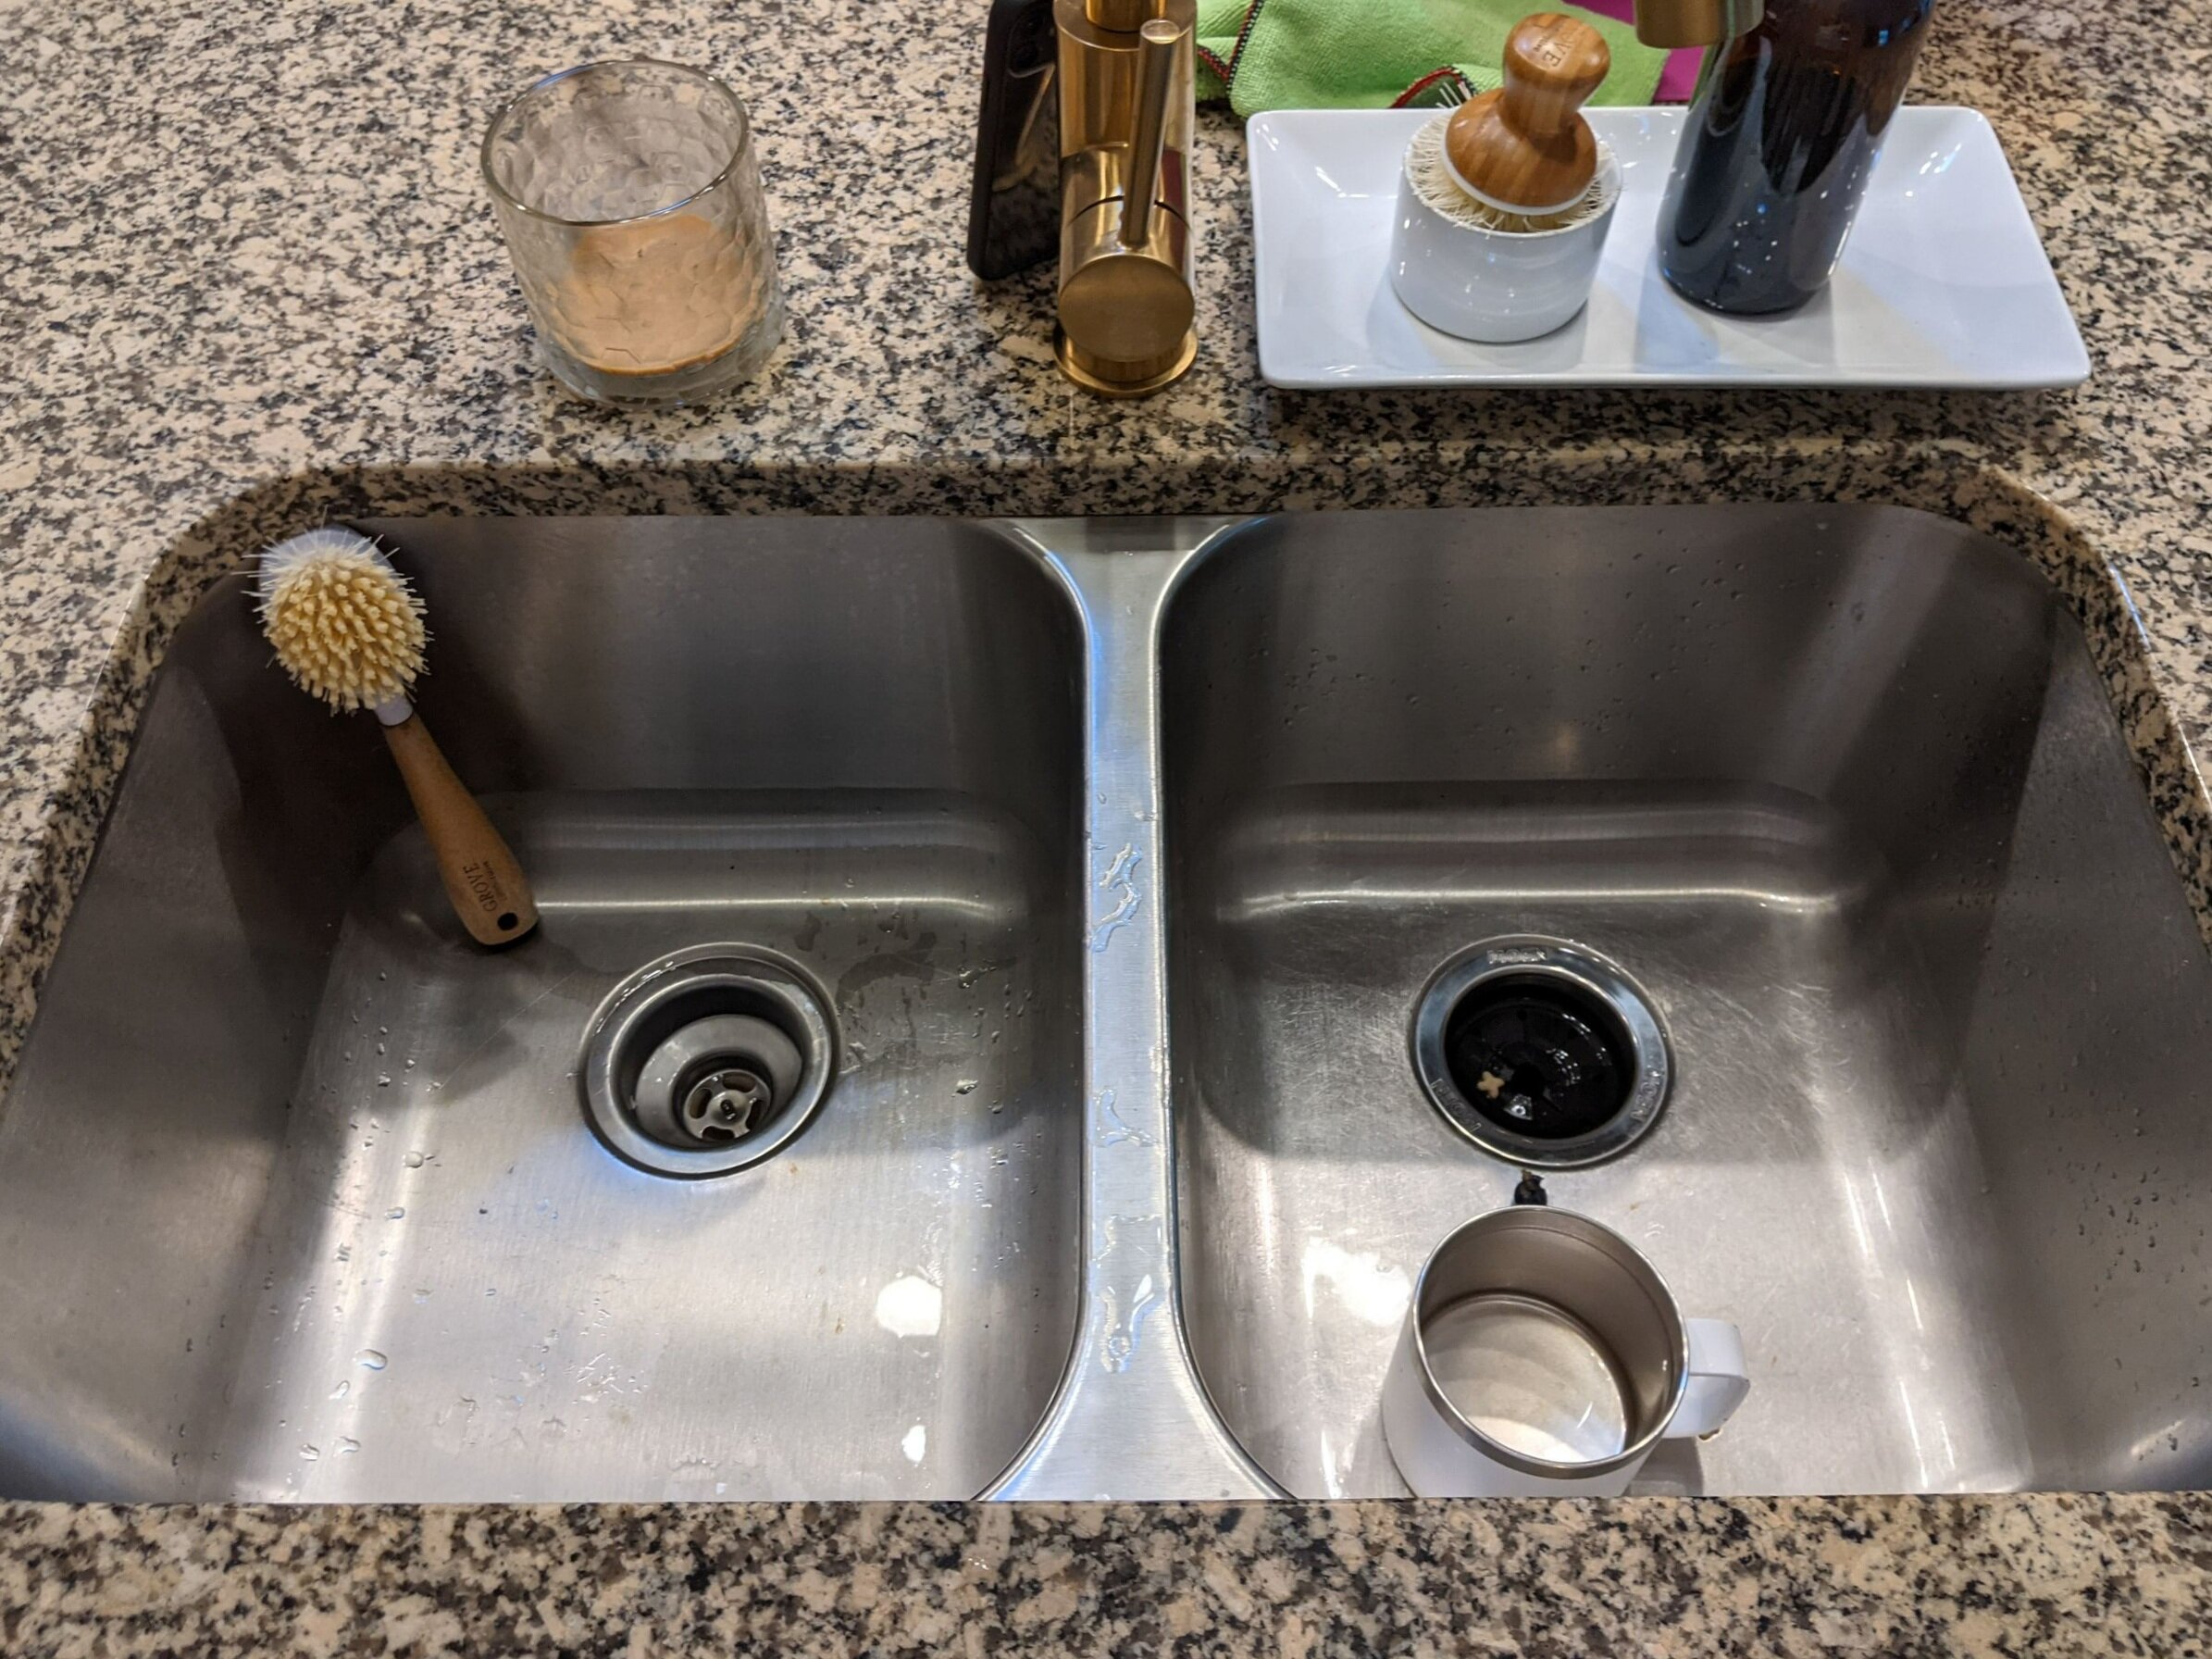
Image Source: images.squarespace-cdn.com
Feasibility Check: Is Sink Replacement Without Countertop Possible?
Before diving in, determine if a sink replacement without countertop replacement is genuinely feasible in your situation. Several factors contribute to this decision:
- Sink Type: Undermount sinks generally require more care, while drop-in (top-mount) sinks are usually easier to replace without damaging the countertop.
- Countertop Material: Some countertop materials, such as laminate, are more prone to chipping or cracking than granite or quartz.
- Existing Sink Condition: The condition of the existing sink and its attachment points influence the complexity of the replacement. A heavily corroded or tightly sealed sink may pose challenges.
- New Sink Dimensions: The new sink’s dimensions should closely match the old sink’s cutout in the countertop, minimizing the need for alterations.
Scenarios Where Sink Replacement is Easier
- Direct Sink Swap: If the new sink is the exact same size and style as the old one, the sink swap existing countertop is likely straightforward.
- Slightly Larger Sink (Drop-In): A slightly larger drop-in sink can often be installed without significant countertop modification, as the lip of the sink covers any minor gaps.
- Experienced DIYer: If you’re confident in your DIY skills and have experience with plumbing and basic carpentry, you’re more likely to succeed in a DIY sink replacement countertop intact.
Scenarios Where Sink Replacement is More Challenging
- Undermount Sink with Damaged Countertop Edge: Chips or cracks around the undermount sink’s cutout area make the replacement riskier.
- Significant Size Difference: If the new sink is considerably larger or smaller than the old one, altering the countertop opening becomes necessary, increasing the risk of damage.
- Inexperienced DIYer: Lack of experience and proper tools can lead to mistakes that damage the countertop.
Step-by-Step Guide to Replacing a Kitchen Sink (Countertop Intact)
This guide outlines the general process for replacing a kitchen sink without removing the countertop. Always consult the manufacturer’s instructions for your specific sink model.
1. Preparation: Gathering Tools and Materials
- New Kitchen Sink: Choose a sink that closely matches the dimensions and style of your old one, or one that is slightly larger if you are using a drop-in model.
- Plumber’s Putty or Silicone Caulk: For sealing the sink to the countertop.
- New Faucet (Optional): If you’re upgrading your faucet, now is the perfect time to do it.
- Supply Lines (Optional): Replacing old supply lines prevents future leaks.
- P-Trap and Drainpipe Extensions (Optional): For adjusting the drain connection if needed.
- Basin Wrench: For loosening and tightening faucet nuts.
- Adjustable Wrench: For general plumbing connections.
- Screwdrivers (Various Sizes): Both flathead and Phillips head.
- Putty Knife or Scraper: For removing old sealant.
- Utility Knife: For scoring old caulk.
- Pliers: For gripping and manipulating small parts.
- Safety Glasses: Protect your eyes from debris.
- Gloves: Protect your hands.
- Towels and Buckets: For catching water.
- Work Light: For better visibility under the sink.
- Oscillating Multi-Tool (Optional): Useful for cutting through stubborn caulk or adhesive.
- Caulk Gun (if using caulk)
2. Safety First: Shutting Off the Water Supply
- Locate the shut-off valves under the sink for both hot and cold water.
- Turn both valves clockwise until they are completely closed.
- Turn on the faucet to relieve any remaining pressure in the lines.
- Place a bucket under the supply lines to catch any residual water.
3. Disconnecting the Plumbing
- Disconnect the Faucet Supply Lines: Use a basin wrench to loosen the nuts connecting the supply lines to the faucet. Carefully disconnect the lines and drain any remaining water into the bucket.
- Disconnect the Drainpipe: Loosen the slip nuts connecting the P-trap to the sink drain and the drainpipe. Carefully remove the P-trap, being prepared for water to spill. Clean out the P-trap.
- Remove the Garbage Disposal (If Applicable): Disconnect the power to the disposal. Disconnect the drainpipe and mounting ring. Twist the disposal to detach it from the sink flange.
4. Removing the Old Sink
The removal process differs slightly depending on whether you have a drop-in or undermount sink.
Drop-In Sink Removal:
- Cut the Sealant: Use a utility knife or oscillating multi-tool to carefully cut through the old sealant around the perimeter of the sink where it meets the countertop.
- Remove Mounting Clips: If your sink has mounting clips, loosen and remove them.
- Lift Out the Sink: Gently lift the sink from the countertop. You may need to use a putty knife to help loosen it. If the sink is stuck, double-check for any remaining sealant or clips.
- Clean the Countertop: Use a scraper to remove any remaining sealant or debris from the countertop.
Undermount Sink Removal:
- Assess the Attachment Method: Undermount sinks are typically attached with adhesive and/or mounting clips.
- Remove Mounting Clips (If Applicable): Loosen and remove any mounting clips.
- Cut the Adhesive: Use a utility knife or oscillating multi-tool to carefully cut through the adhesive between the sink and the countertop. This can be a time-consuming process.
- Support the Sink: Place supports (such as wood blocks) under the sink to prevent it from falling when the adhesive is cut.
- Gently Lower the Sink: With the adhesive cut and the sink supported, carefully lower the sink. You may need assistance for this step.
- Clean the Countertop: Remove any remaining adhesive or debris from the countertop. Pay special attention to the underside of the countertop around the cutout.
Table: Common Issues and Solutions During Sink Removal
| Issue | Solution |
|---|---|
| Sink is stuck | Double-check for remaining sealant, clips, or adhesive. Use a putty knife to gently pry around the edges. |
| Countertop chips | Apply painter’s tape to the area before cutting sealant to help prevent chipping. Work slowly and carefully. |
| Difficulty cutting adhesive | Use an oscillating multi-tool with a scraper blade for more precise and efficient cutting. |
| Risk of sink falling | Provide adequate support under the sink before cutting the adhesive. Have an assistant help lower the sink once it’s detached. |
5. Preparing the Countertop for the New Sink
- Clean the Surface: Ensure the countertop surface is clean, dry, and free of any old sealant or adhesive.
- Inspect for Damage: Carefully inspect the countertop around the sink opening for any chips, cracks, or damage. Repair any minor damage before installing the new sink.
- Dry Fit the New Sink: Place the new sink in the opening to check the fit. Ensure it sits flush against the countertop. If it doesn’t fit, you may need to make minor adjustments to the opening with a file or sander (proceed with extreme caution, especially with delicate countertop materials).
6. Installing the New Sink
Drop-In Sink Installation:
- Apply Sealant: Apply a bead of plumber’s putty or silicone caulk around the underside of the sink rim.
- Position the Sink: Carefully lower the sink into the countertop opening, ensuring it is centered and aligned.
- Secure the Sink: Install the mounting clips from underneath the countertop, tightening them evenly to secure the sink.
- Remove Excess Sealant: Wipe away any excess sealant with a damp cloth.
Undermount Sink Installation:
- Apply Adhesive: Apply a generous bead of silicone caulk or specialized undermount sink adhesive to the underside of the countertop around the cutout.
- Position the Sink: Carefully lift the sink into position, aligning it with the countertop cutout.
- Secure the Sink: Use clamps or supports to hold the sink in place while the adhesive cures according to the manufacturer’s instructions. Some undermount sinks also have mounting clips that can be used in addition to adhesive.
- Remove Excess Sealant: Wipe away any excess sealant with a damp cloth.
7. Reconnecting the Plumbing
- Install the Faucet: Install the new faucet (or reinstall the old one) according to the manufacturer’s instructions.
- Connect the Faucet Supply Lines: Connect the supply lines to the faucet, tightening the nuts with a basin wrench.
- Install the Drain Flange: Install the drain flange into the sink drain opening, using plumber’s putty or silicone caulk to create a watertight seal.
- Connect the P-Trap and Drainpipe: Reconnect the P-trap to the drain flange and the drainpipe, tightening the slip nuts.
- Reinstall the Garbage Disposal (If Applicable): Reattach the garbage disposal to the sink flange and reconnect the drainpipe and power.
8. Testing for Leaks
- Turn on the water supply slowly, checking all connections for leaks.
- If you find any leaks, tighten the connections or reapply sealant as needed.
- Run water in the sink to ensure the drain is functioning properly.
9. Cleanup
- Remove all tools and materials from the work area.
- Clean up any spills or debris.
Choosing the Right Sink for a Countertop-Safe Replacement
Choosing the right sink is crucial for a successful sink upgrade existing countertop. Consider these factors:
- Sink Type: As mentioned earlier, drop-in sinks are generally easier to install without damaging the countertop. However, undermount sinks can also be replaced with care.
- Sink Material: Stainless steel is a durable and popular choice. Composite granite sinks are also resistant to scratches and stains.
- Sink Dimensions: Accurate measurements are essential. Ensure the new sink fits the existing cutout or is slightly larger (for drop-in sinks).
- Drain Placement: Make sure the drain placement of the new sink is compatible with your existing plumbing.
Countertop-Specific Considerations for Sink Replacement
The countertop material greatly influences the sink replacement process.
Laminate Countertops
Laminate is prone to chipping. Use extreme caution when cutting sealant or prying the old sink. Use painter’s tape around the sink opening to protect the laminate.
Solid Surface Countertops (e.g., Corian)
Solid surface countertops are more durable than laminate but can still be scratched or damaged. Use non-abrasive cleaners and tools.
Granite and Quartz Countertops
Granite and quartz are relatively durable but can crack if subjected to excessive force. Avoid using excessive force when removing the old sink or installing the new one.
Tile Countertops
Tile countertops are challenging because the grout lines are brittle. Be extra careful when cutting sealant to avoid damaging the grout or tiles.
Table: Countertop Material and Best Practices
| Countertop Material | Best Practices |
|---|---|
| Laminate | Use painter’s tape to prevent chipping, use a sharp utility knife, and work slowly. |
| Solid Surface | Use non-abrasive cleaners and tools, and avoid excessive force. |
| Granite/Quartz | Avoid excessive force, use a diamond-tipped blade for cutting (if necessary), and seal the countertop after installation. |
| Tile | Be extra careful around grout lines, use a grout saw for precise cutting, and consider hiring a professional. |
When to Call a Professional for Kitchen Sink Installation Same Countertop
While DIY sink replacement is possible, certain situations warrant professional help:
- Extensive Countertop Damage: If the countertop is severely damaged, a professional can assess the damage and recommend the best course of action.
- Complex Plumbing Issues: If you encounter complex plumbing issues, such as corroded pipes or unusual drain configurations, a professional plumber can resolve them safely and efficiently.
- Undermount Sink with Difficult Access: Replacing an undermount sink can be challenging, especially if access is limited. A professional has the experience and tools to handle these situations.
- Lack of Confidence: If you are uncomfortable with any part of the process, it’s best to hire a professional to avoid costly mistakes.
Fathoming Potential Problems and Solutions
Even with careful planning, problems can arise during a sink replacement.
- Leaking Connections: Double-check all connections, tighten the nuts, and reapply sealant if necessary.
- Incorrect Sink Size: If the new sink doesn’t fit, you may need to return it and purchase a different size.
- Damaged Countertop: If you accidentally damage the countertop, consult a professional for repair options. Minor chips can sometimes be repaired with epoxy.
- Drainage Issues: If the drain is slow or clogged, clear any obstructions and ensure the P-trap is properly installed.
Frequently Asked Questions (FAQ)
Q: Can I replace an undermount sink with a drop-in sink without replacing the countertop?
A: Yes, it is possible, but it may require some modifications to the countertop opening. You will also need to ensure that the drop-in sink covers the existing cutout and any exposed edges.
Q: What is the best sealant to use for a kitchen sink?
A: Silicone caulk or plumber’s putty are commonly used sealants for kitchen sinks. Silicone caulk provides a waterproof seal, while plumber’s putty is more pliable and easier to work with.
Q: How long does it take to replace a kitchen sink?
A: A typical sink replacement can take anywhere from 2 to 4 hours, depending on the complexity of the installation and your experience level.
Q: Can I reuse the old faucet?
A: Yes, you can reuse the old faucet if it is in good condition and compatible with the new sink. However, it’s often recommended to replace the faucet at the same time to ensure a fresh, coordinated look.
Q: Do I need to hire a plumber to replace a kitchen sink?
A: Not necessarily. If you are comfortable with basic plumbing tasks and have the necessary tools, you can likely replace the sink yourself. However, if you encounter any complex issues or are uncomfortable with the process, it’s best to hire a professional plumber.
By following these steps and considering these tips, you can successfully complete a sink replacement without countertop damage and achieve a refreshed kitchen look. Remember to prioritize safety, take your time, and don’t hesitate to seek professional help if needed.

Hi, I’m Larry Fish, the mind behind MyGrinderGuide.com.. With a passion for all things kitchen appliances, I created this blog to share my hands-on experience and expert knowledge. Whether it’s helping you choose the right tools for your culinary adventures or offering tips to make your kitchen more efficient, I’m here to guide you. My goal is to make your time in the kitchen not only easier but also enjoyable! Welcome to my world of kitchen mastery!