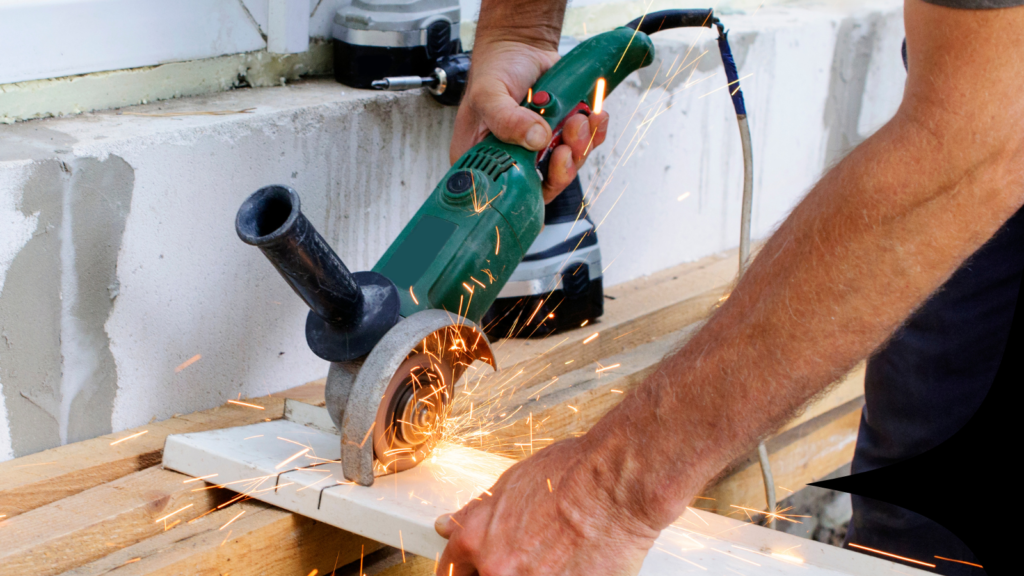
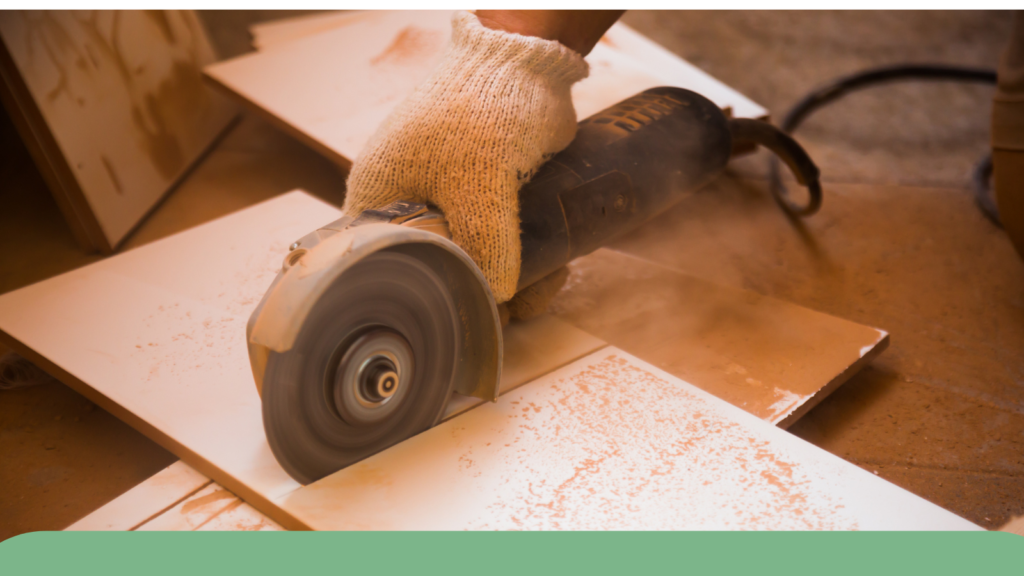
If you’ve ever found yourself wondering, “Can I actually use an angle grinder for sanding?” you’re definitely not the only one. It’s a common question because these tools are so powerful.
Yes, you absolutely can! In my experience, an angle grinder does a great job at sanding as long as you’re using the right kind of disc. Whether you’re working on a wood project or cleaning up some metal, the key is knowing the right way to handle it. In this guide, I’ll walk you through everything you need to know to get a smooth finish. Let’s jump in and see how it’s done!
Understanding the Basics of an Angle Grinder
An angle grinder is a handy tool for cutting, grinding, and sanding. It’s common in workshops, home projects, and construction. The tool has a spinning disc that helps cut or smooth different materials like metal, wood, or stone. For example, a grinder’s sanding disc works great to smooth surfaces. You can also sand with an angle grinder when you use the proper attachment.
What is an Angle Grinder?
An angle grinder is a portable tool with a spinning disc. It helps with tasks like cutting, grinding, polishing, and sanding. You can use it for many jobs in metalworking, construction, and home improvement. Depending on the job, you can change the disc. A sanding disc for a grinder is perfect for smoothing rough surfaces.
How Does an Angle Grinder Work?
An angle grinder has a motor that makes a disc spin fast. The spinning disc does different tasks depending on the attachment you use. A cutting disc can slice through rigid materials. With a sanding disc for the grinder, it can smooth rough spots. When used for angle grinder woodwork, it can help refine wood surfaces. The spinning disc allows you to work quickly and accurately.

Can You Sand With an Angle Grinder?
Yes, You Can!
An angle grinder is easy to use for sanding. Simply attach a sanding disc to the grinder, and you can smooth rough surfaces and create a nice finish. It’s perfect for both metal and wood projects.
What You Need to Know
You need the right sanding attachment to sand with an angle grinder. A wood sanding disc is great for wood, while other discs work better for metal or concrete. From my experience, using the correct sanding disc makes a big difference. It helps you get a smooth finish and stay safe while working. Always choose the right sanding discs for angle grinders for each task to get the best results.
Choosing the Right Sanding Disc for Your Angle Grinder
When using an angle grinder for sanding, picking the right sanding disc is essential. It’s not just about putting any disc on the grinder. You need to think about the material, the finish you want, and the grit. Let’s look at the types of sanding discs and what to consider.
Types of Sanding Discs
There are a few types of sanding discs you can use with an angle grinder:
- Flap Discs – These are common for sanding. They have layers of abrasive material that help give a smooth finish. Flap discs work well on metal, wood, and plastic, depending on the grit.
- Fiber Discs – These are for tough jobs. They’re great for grinding metal, removing rust, or smoothing rough surfaces. If you need to remove a lot of material quickly, fiber discs are the best choice.
- Resin Fiber Discs – These are similar to fiber discs but last longer and are more durable. They are great for rigid materials like concrete and thick metals.
- Wood Sanding Discs – These discs are made of wood. They come in different grits and are perfect for sanding wood without scratching or damaging it.
Benefits of Using Wood Sanding Discs for Angle Grinders
If you’re working with wood, a wood sanding disc is a great choice. These discs are made with softer abrasives that smooth wood surfaces without damaging the grain. I’ve used them in several wood projects, and they make a big difference. The right disc can give you a smooth finish without leaving any marks.
For example, last summer, I restored an old wooden table. Using a wood sanding disc on my angle grinder helped me smooth the wood without making any deep marks. The key was using the right grit. If the grit is too coarse, you might damage the wood, and if it’s too fine, it might not be smooth enough.
Factors to Consider
Here are a few things to think about when choosing a sanding disc:
- Grit Size – The grit size tells you how rough or fine the disc is. Lower grit numbers (40-60) are suitable for heavy sanding, while higher numbers (120-180) are better for smooth finishes. For wood, I recommend using a finer grit, like 120-150, for a smooth surface.
- Material Compatibility – Make sure the disc works with the material you’re sanding. A wood sanding disc is suitable for wood, but for metal or concrete, you’ll need a stronger disc, like a fiber disc.
- Purpose of Sanding – Think about what you’re trying to do. If you need to smooth a surface, use fine grit. If you need to remove paint or rust, choose a more aggressive disc to get the job done faster.
Real-Life Example of Choosing the Right Disc
A few months ago, I was fixing up an old wooden workbench. The surface was rough with deep marks, so I started with a 60-grit wood sanding disc. It quickly smoothed out the rough spots without damaging the wood. After that, I switched to a 120-grit disc to get a smooth finish. This method saved me a lot of time and helped me restore the bench to look almost brand new!
Choosing the right sanding disc for your angle grinder might take trial and error. But trust me, once you find the right disc, you’ll breeze through your sanding projects quickly and easily.
Step-by-Step Guide to Sanding with an Angle Grinder
Preparation
Before you start, make sure you’re ready. Sanding creates dust and debris, so wear safety gear. Put on goggles, gloves, and a dust mask. Trust me, you don’t want to breathe in the dust or get it in your eyes! I’ve learned that lesson the hard way.
Also, check the surface you’re sanding. Clean it off before you start. Any dirt or paint will make sanding uneven. A quick wipe will do the trick.
Setting Up the Angle Grinder
Once you’re safe and the surface is prepped, it’s time to set up the angle grinder. First, make sure the tool is turned off. When you put the sanding disc on, choose the right one for your material. Please attach it to the grinder’s spindle and tighten it carefully with the wrench. It’s essential to make sure the disc is secure, or it might fly off! Also, check that the grinder is working fine before you start.
Sanding Process
Now for the fun part! Please turn on the angle grinder and gently move it over the surface. Don’t press too hard—let the grinder do the work. If you push too much, you might damage the material.
A quick tip: Keep the grinder moving in smooth, even strokes. Don’t stay in one spot too long, or you might end up with an uneven surface. I’ve made this mistake before and had to fix some rough patches. Keep it moving for the best results!
Tips for Smooth Sanding Without Damaging the Wood or Material
- Choose the Right Grit: Grit is essential. For smooth finishes, use finer grit (120-150). If you need to remove rough spots, go for coarser grit (60-80).
- Steady Hand: Make sure you hold the grinder steady. Jerky movements can mess up the sanding, and keeping a steady hand will give you an even finish.
- Don’t Overdo It: It’s easy to get carried away, but don’t sand too much. Over-sanding can damage the material, especially wood. I’ve ruined a few projects this way, so take your time.
I recently used this technique to restore an old wooden table. It had deep grooves, and I needed to smooth them out. Using the angle grinder with a wood sanding disc worked perfectly! I started with a coarser grit and finished with a finer one. The table looked almost new afterward.
Personal Story
I once sanded down an old bookshelf using my angle grinder. At first, I was nervous, thinking I’d ruin the wood. But once I got the hang of it, sanding was faster and easier than using a regular sander. The final result was a smooth, polished finish that I was proud of. That’s why I now swear by using the angle grinder for sanding. It works like a charm when you get the technique right!
Following these steps will yield great results. Sanding with an angle grinder is quick and efficient, and with the proper technique, you’ll get a smooth, professional finish every time!

Benefits and Drawbacks of Sanding with an Angle Grinder
Pros of Sanding with an Angle Grinder
Using an angle grinder for sanding has its advantages. The biggest one is efficiency. This tool works fast! It removes material quicker than traditional sanders, which can save you a lot of time, especially on large projects. I’ve used mine to smooth big surfaces in no time, and it worked great.
Another plus is its versatility. The angle grinder isn’t just for sanding. With a simple change of attachments, you can use it for cutting, grinding, and polishing. It’s a tool for many different tasks. When I first used it, I was amazed at how quickly I could switch between jobs.
Cons of Sanding with an Angle Grinder
There are a few downsides to consider. One is the risk of over-sanding. Since the grinder is so powerful, it’s easy to go too far and create an uneven surface. I’ve made this mistake before, sanding too much in one area and creating a low spot. It’s easy to get carried away, but with practice, you’ll learn how to control it.
Also, an angle grinder isn’t always the best tool for the job. For delicate work or projects that need a smooth finish, a traditional sander may be better. For example, I wouldn’t use an angle grinder on a fine wood project that needs precision. It can leave marks, which will require extra work to fix.
Personal Lessons Learned
I’ve learned a lot from sanding with an angle grinder. It’s all about balance—using the right grit and applying light, even pressure. One time, I sanded a metal surface too hard, leaving deep scratches. It took a lot longer to fix. Now, I take it slower and get better results.
In conclusion, the angle grinder is great for many sanding tasks. It’s fast and versatile, but it’s not always the best choice for delicate projects. It’s all about knowing when to use it and how to control it.
Alternatives to Sanding with an Angle Grinder
Other Tools for Sanding
While an angle grinder works well for many sanding jobs, other tools might be a better fit for specific tasks. Let’s compare it to traditional sanders and belt sanders.
A traditional sander, like an orbital or palm sander, is great for smaller projects or when you need a smoother finish. These sanders are easy to control and work well on delicate surfaces. I’ve used my orbital sander for furniture restoration, and it left the wood smooth without any risk of over-sanding.
Belt sanders are perfect when you need to remove a lot of material quickly. They’re powerful and work well on rough surfaces, like wood. I used a belt sander to clean up a weathered deck, and it was much faster than using an angle grinder. It made the job easier and saved a lot of time.
When to Use a Different Tool
A traditional sander is a better choice for smaller projects or tasks that need fine control. An angle grinder can be too intense for delicate work, like when I tried using it on a wood project and ended up with marks that took a while to fix.
If you need to remove a lot of material quickly, go with a belt sander. But like the angle grinder, be careful not to overspend.
The angle grinder is a great tool, but knowing when to use it—and when to switch to a traditional sander or belt sander—will help you get the best results.
FAQs
Can you sand metal with an angle grinder?
Yes, you can. An angle grinder can sand metal surfaces by using the right sanding disc, like a fiber disc. Just remember to go easy and not press too hard, as this can cause uneven surfaces. I’ve used mine for metal projects, like removing rust, and it worked perfectly.
What is the best angle grinder for sanding wood?
For sanding wood, look for an angle grinder with adjustable speed settings. Brands like Bosch, Makita, and DeWalt offer great options. Pick one that allows you to control the speed to avoid damaging the wood.
How can I avoid gouging when sanding with an angle grinder?
To avoid gouging, don’t press too hard. Keep the grinder moving smoothly, and don’t stay in one spot too long. Also, using the correct grit is crucial. I’ve found that taking my time and using the proper technique prevents the grinder from leaving marks or causing damage.
Conclusion
In short, you can definitely sand with an angle grinder, and it can save you a lot of time on big, demanding jobs. By using the right sanding disc, you can smooth rough surfaces on both wood and metal. Just remember to pick the proper attachment for the material you’re working with, and always wear safety gear. Keep the grinder moving steadily for the best results, and you’ll get a smooth finish every time. The angle grinder is a great tool, but knowing when to use it is key.
I’ve shared all the tips I know about sanding with an angle grinder—from picking the right disc to avoiding damage. Have you ever used an angle grinder for sanding? I’d love to hear your thoughts or any questions you have. Feel free to comment or reach out—I’m happy to help fellow DIYers out!

Hi, I’m Larry Fish, the mind behind MyGrinderGuide.com.. With a passion for all things kitchen appliances, I created this blog to share my hands-on experience and expert knowledge. Whether it’s helping you choose the right tools for your culinary adventures or offering tips to make your kitchen more efficient, I’m here to guide you. My goal is to make your time in the kitchen not only easier but also enjoyable! Welcome to my world of kitchen mastery!

