
How much does a kitchen backsplash cost? The cost of a kitchen backsplash varies greatly depending on the materials used, the size of the area to be covered, and whether you hire a professional for installation or do it yourself. Expect to pay anywhere from $5 to $50 or more per square foot for materials, and an additional $10 to $30 per square foot for professional installation. This article will break down all the factors influencing the kitchen backsplash cost, including backsplash material prices, backsplash installation price, and provide tips for finding affordable kitchen backsplash options.
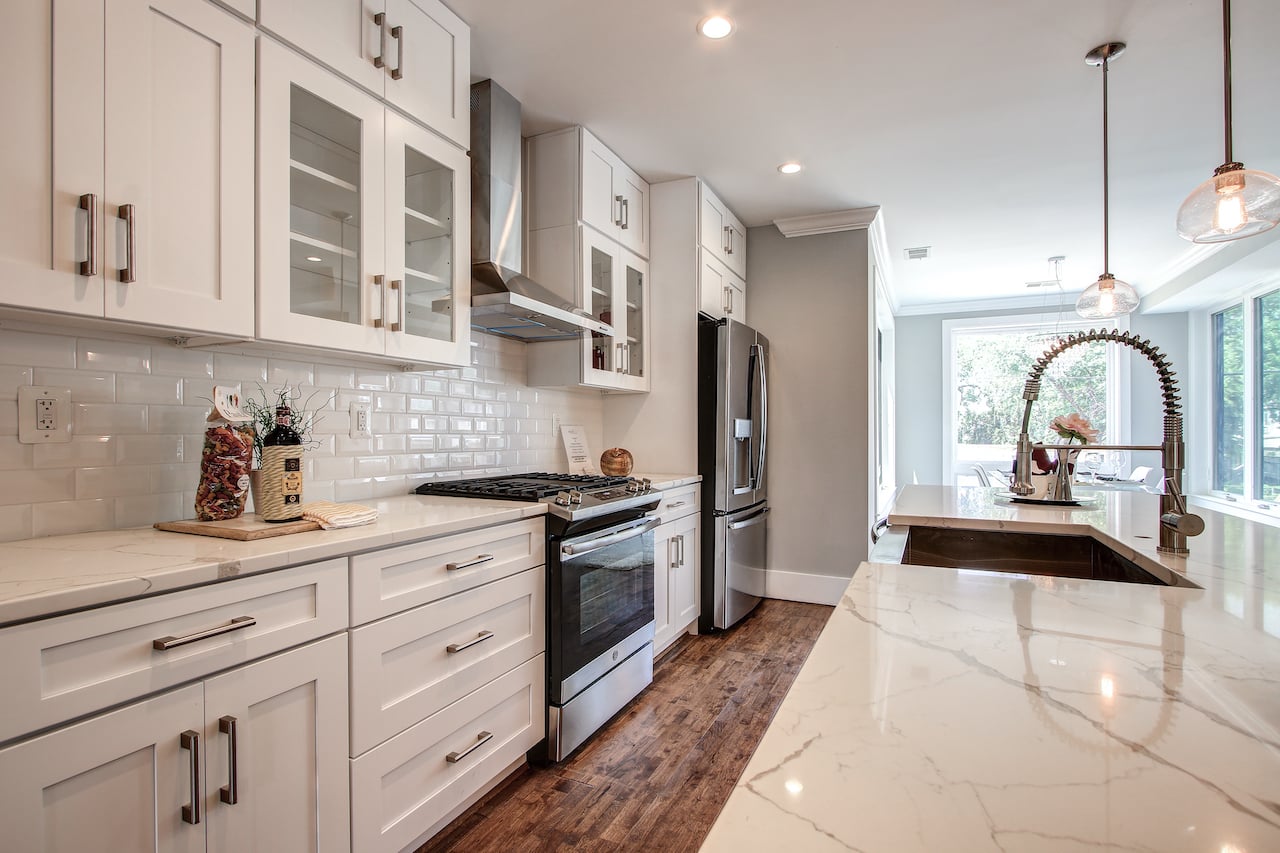
Image Source: kitchenandbathshop.com
Deciphering Kitchen Backsplash Cost: A Comprehensive Guide
A kitchen backsplash does more than just protect your walls from splatters; it adds style and personality to your cooking space. However, before you dive into choosing your favorite tiles, it’s essential to understand the factors that influence the total cost of your project. Planning a kitchen remodel backsplash budget requires a clear idea of all potential expenses.
Key Factors Influencing Kitchen Backsplash Cost
Several elements play a significant role in determining the final price. These include:
- Material: This is the most significant cost driver. Different materials have vastly different prices.
- Size of the Area: Naturally, a larger backsplash area will require more materials and potentially more labor, increasing the overall cost.
- Labor (Installation): Hiring a professional installer will add to the cost, but can be worthwhile for complex designs or delicate materials.
- Complexity of Design: Intricate patterns and layouts, such as herringbone or mosaic, require more time and skill, increasing installation costs.
- Geographic Location: Labor costs and material prices can vary depending on where you live.
- Prep Work: Existing surfaces might need cleaning, leveling, or priming, adding to the overall time and expense.
Backsplash Material Prices: A Detailed Breakdown
The choice of material significantly impacts the average cost of kitchen backsplash. Let’s explore some popular options and their typical price ranges.
| Material | Cost per Square Foot (Materials Only) | Notes |
|---|---|---|
| Ceramic Tile | $3 – $15 | Versatile, durable, and available in countless colors and styles. A common and more affordable choice. |
| Porcelain Tile | $5 – $20 | More durable and water-resistant than ceramic. Ideal for areas prone to moisture. |
| Glass Tile | $8 – $30 | Adds a sleek, modern look. Can be translucent or opaque, offering unique lighting effects. Often needs to be installed by professional because it is fragile. |
| Stone Tile (Granite, Marble, Slate) | $15 – $50+ | Luxurious and adds a natural element. Requires sealing and can be more porous. |
| Metal Tile | $10 – $40+ | Adds a contemporary and industrial touch. Can be stainless steel, copper, or other metals. |
| Peel-and-Stick Tile | $2 – $10 | An affordable kitchen backsplash option for DIYers. Easy to install but may not be as durable as other materials. |
| Subway Tile | $3 – $15 | Classic and timeless. Often a cost-effective choice, especially in ceramic. |
| Mosaic Tile | $7 – $35+ | Available in various materials and patterns. Installation can be more labor-intensive, increasing costs. |
These prices are approximate and can fluctuate based on specific styles, brands, and retailers. Always get quotes from multiple suppliers to compare prices.
Backsplash Installation Price: Professional vs. DIY
The cost to install tile backsplash is another crucial aspect of the overall budget. You have two primary options: hiring a professional or tackling the installation yourself.
Professional Installation
- Pros: Ensures a professional finish, saves time and effort, minimizes the risk of errors, and can handle complex designs.
- Cons: Adds significantly to the overall cost.
Professional backsplash installation price typically ranges from $10 to $30 per square foot. This includes labor, mortar, grout, and other necessary materials. More intricate patterns or challenging installations can push the price higher.
DIY Installation
- Pros: Saves on labor costs, allows for greater control over the process, and can be a rewarding experience. Contributes to lower DIY backsplash cost.
- Cons: Requires time, effort, and some DIY skills. Mistakes can be costly and time-consuming to fix.
DIY backsplash cost primarily involves the cost of materials, tools (if you don’t already own them), and potentially some learning curve. While it can save money, it’s crucial to be realistic about your skills and time commitment.
Estimating Your Project: The Kitchen Backsplash Cost Calculator
Calculating the estimated cost involves several steps. Here’s a simple approach:
- Measure the Area: Determine the square footage of the backsplash area.
- Choose Your Material: Select the material you want to use and find the price per square foot.
- Estimate Material Cost: Multiply the square footage by the material cost per square foot.
- Factor in Installation: If hiring a professional, get quotes from multiple installers. If doing it yourself, budget for tools and supplies.
- Add a Buffer: Include a 10-15% buffer for unexpected expenses or waste.
Here’s an example:
- Backsplash Area: 30 square feet
- Material: Ceramic Tile ($8 per square foot)
- Professional Installation: $15 per square foot
- Estimated Material Cost: 30 sq ft x $8/sq ft = $240
- Estimated Labor Cost: 30 sq ft x $15/sq ft = $450
- Total Estimated Cost: $240 + $450 = $690
- Buffer (10%): $69
Total Project Cost = $690 + $69 = $759
While this is a simplified example, it provides a framework for estimating your project cost. Using an online kitchen backsplash cost calculator can further refine your estimate.
Affordable Kitchen Backsplash Options: Saving Money Without Sacrificing Style
If you’re on a tight budget, here are some strategies for keeping your kitchen backsplash cost down:
- Choose Affordable Materials: Ceramic tile, subway tile, and peel-and-stick options are generally more budget-friendly.
- DIY Installation: If you’re comfortable with DIY projects, installing the backsplash yourself can save a significant amount on labor costs.
- Simplify the Design: Avoid intricate patterns or layouts that require more time and skill to install.
- Shop Around: Compare prices from multiple suppliers to find the best deals on materials.
- Look for Sales and Discounts: Many retailers offer sales and discounts on backsplash materials, especially during holidays or clearance events.
- Consider Salvaged Materials: Reclaimed tiles or other salvaged materials can add character and save money.
- Use Less Backsplash: Only cover the necessary areas behind the stove and sink rather than an entire wall.
Fathoming the Impact of Design Complexity on Cost
Simple styles, like a basic subway tile look, are usually cheaper to install than fancy patterns like herringbone or mosaic. The complicated designs take more time to cut and fit, which pushes up the cost of labor. Keep these things in mind when you are choosing your design.
- Straight Lines vs. Angles: Designs with straight lines are easier and faster to install than those with angles or curves.
- Tile Size: Larger tiles often require less grout and can be quicker to install than smaller tiles.
- Grout Color: Choosing a grout color that complements the tile can simplify the installation process and reduce the need for meticulous cleaning.
- Intricate patterns: Herringbone, chevron, or mosaic patterns will significantly increase labor costs due to the precision and time required.
Decoding Potential Hidden Costs
In addition to the main costs of materials and installation, be aware of these potential hidden expenses:
- Prep Work: Removing old backsplash, repairing drywall, and leveling surfaces can add to the cost.
- Tool Rentals: If you’re doing it yourself, you may need to rent tools such as a tile saw or grout float.
- Waste Disposal: Disposing of old tiles and other debris can incur additional costs.
- Unexpected Repairs: Discovering hidden damage during the project, such as plumbing or electrical issues, can lead to unexpected expenses.
- Sealing: Natural stone tiles require sealing to protect them from stains and moisture.
- Electrical outlet relocation: If outlets need to be moved, hire a qualified electrician.
Making an Informed Decision
Choosing a kitchen backsplash is an exciting part of a kitchen remodel. By carefully considering the factors that influence cost, exploring different material options, and weighing the pros and cons of professional versus DIY installation, you can make an informed decision that fits your budget and style. Creating a well-defined kitchen remodel backsplash budget before you start will help keep your project on track and prevent unexpected surprises.
Frequently Asked Questions (FAQ)
What is the cheapest kitchen backsplash option?
Peel-and-stick tiles and basic ceramic subway tiles are typically the most affordable options.
Can I install a kitchen backsplash myself?
Yes, if you have some DIY experience and are comfortable with basic tiling techniques. However, for complex designs or delicate materials, professional installation is recommended.
How long does it take to install a kitchen backsplash?
A simple backsplash installation can take 1-3 days for a DIY project, while a professional installer may complete it in a day or two, depending on the size and complexity.
What tools do I need to install a kitchen backsplash?
Essential tools include a tile saw, trowel, grout float, sponge, level, measuring tape, and safety glasses.
How do I clean my kitchen backsplash?
The cleaning method depends on the material. Ceramic and porcelain tiles can be cleaned with mild soap and water. Natural stone may require special cleaners. Avoid abrasive cleaners that can scratch the surface.
Is it worth hiring a professional to install my kitchen backsplash?
It depends on your skills, time, and budget. Hiring a professional ensures a quality finish, saves time, and reduces the risk of errors, but it adds to the overall cost.
How do I choose the right backsplash material?
Consider your budget, style preferences, and the functionality of the backsplash. Choose a material that is durable, easy to clean, and complements your kitchen’s overall design.
How much extra tile should I buy?
It is generally recommended to buy at least 10-15% extra tile to account for cuts, breakage, and potential future repairs.
What is the standard height for a kitchen backsplash?
The standard height is usually 18 inches, measuring from the countertop to the bottom of the upper cabinets. However, this can vary depending on your design preferences.

Hi, I’m Larry Fish, the mind behind MyGrinderGuide.com.. With a passion for all things kitchen appliances, I created this blog to share my hands-on experience and expert knowledge. Whether it’s helping you choose the right tools for your culinary adventures or offering tips to make your kitchen more efficient, I’m here to guide you. My goal is to make your time in the kitchen not only easier but also enjoyable! Welcome to my world of kitchen mastery!