
What is a faucet aerator and why does it need cleaning? A faucet aerator is a small screen-like device screwed onto the tip of your kitchen faucet. It mixes air into the water stream to create a smooth, non-splashing flow. Over time, mineral deposits and debris can clog the aerator, causing low water pressure and erratic splashing. Regularly cleaning your aerator is a key part of kitchen faucet maintenance and keeps your water flowing smoothly.
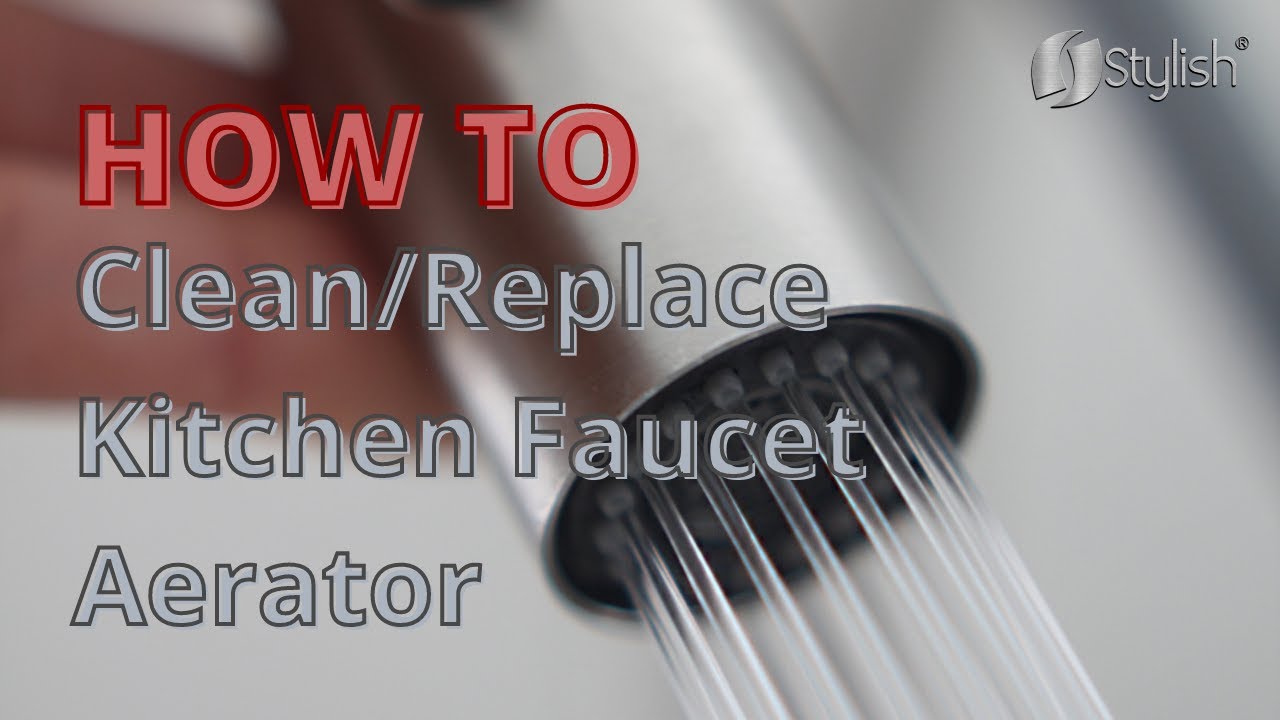
Image Source: i.ytimg.com
Recognizing the Signs of a Clogged Aerator
Before diving into faucet aerator cleaning, it’s essential to identify if a clogged aerator is indeed the source of your faucet flow problems. Look for these telltale signs:
- Reduced Water Pressure: Noticeably weaker water flow compared to usual.
- Inconsistent Water Stream: The water spurts out unevenly or in multiple directions.
- Splashing: Water sprays outside the sink instead of flowing smoothly.
- Visible Debris: You might see particles or mineral buildup around the aerator.
- Whistling or Sputtering Noises: Air pockets caused by the blockage can create unusual sounds.
If you’re experiencing these issues, chances are high that your aerator needs a good cleaning.
Gathering Your Tools and Supplies
Getting ready ahead of time makes the aerator removal and cleaning process much easier. Here’s what you’ll need:
- Adjustable Wrench or Pliers: For loosening and removing the aerator housing. (Use tape to protect the finish)
- Small Bowl or Container: To soak the aerator parts in.
- Old Toothbrush: For scrubbing away stubborn deposits.
- White Vinegar: A natural and effective aerator cleaning solution for dissolving mineral buildup.
- Soft Cloth or Rag: For wiping and drying the parts.
- Needle or Pin: To help dislodge debris from tiny holes.
- Towel: To protect the sink from scratches.
- Aerator Key (Optional): Some faucets require a special key for aerator removal.
Step-by-Step Guide to Cleaning Your Faucet Aerator
Follow these instructions for a thorough how to unclog faucet aerator experience:
Step 1: Turning Off the Water Supply (Safety First!)
Although you’re only dealing with a small part, it’s always best to turn off the water supply to prevent any unexpected leaks or messes.
- Locate the shut-off valves under your sink. There should be one for hot water and one for cold water.
- Turn both valves clockwise until they are completely closed.
- Turn on the faucet briefly to release any remaining water pressure.
Step 2: Removing the Aerator
This step varies depending on the type of aerator you have.
- Standard Aerator: Wrap tape around the jaws of your wrench or pliers to protect the faucet finish. Gently loosen the aerator housing by turning it counterclockwise. Once loose, you should be able to unscrew it by hand.
- Hidden Aerator: These aerators are designed to be less visible. They often require a special aerator key. Insert the key into the slots on the aerator and turn counterclockwise to loosen.
- Push-and-Twist Aerator: Some newer faucets have aerators that you push in slightly and then twist to release. Check your faucet’s manual if you’re unsure.
Step 3: Disassembling the Aerator
Once the aerator is removed, carefully take it apart. It usually consists of several small components:
- Housing: The outer casing.
- Screen(s): Fine mesh screens that filter the water.
- Flow Restrictor: A small plastic piece that regulates water flow.
- Rubber Washer: Ensures a tight seal.
Keep track of the order in which you remove the parts, as you’ll need to reassemble them later.
Step 4: Soaking the Components in Vinegar
Vinegar is an excellent mineral deposit removal faucet method.
- Place all the aerator components (except the rubber washer, which can degrade in vinegar) in a small bowl.
- Pour enough white vinegar into the bowl to completely submerge the parts.
- Let them soak for at least 1-2 hours, or even overnight for heavily calcified aerators. The vinegar will dissolve the mineral deposits.
Step 5: Cleaning the Components
After soaking, it’s time to scrub away any remaining debris.
- Use an old toothbrush to scrub each component thoroughly. Pay close attention to the screens, as they tend to accumulate a lot of buildup.
- Use a needle or pin to carefully poke out any debris stuck in the tiny holes of the screens or flow restrictor.
- Rinse each component under clean water to remove any loosened debris and vinegar residue.
Step 6: Reassembling the Aerator
Now it’s time to put everything back together.
- Refer to the order in which you disassembled the aerator.
- Reassemble the components carefully, making sure everything fits snugly.
- Ensure the rubber washer is in good condition and properly seated to prevent leaks.
Step 7: Reinstalling the Aerator
- Screw the aerator housing back onto the faucet spout, turning it clockwise.
- Tighten it gently with a wrench or pliers, but be careful not to overtighten, as this could damage the housing or faucet finish.
- If you’re using an aerator key, insert it and turn clockwise until snug.
Step 8: Testing the Water Flow
- Turn the water supply valves back on, slowly and fully.
- Turn on the faucet and observe the water flow. It should be smooth, consistent, and free of splashing.
- Check for any leaks around the aerator housing. If you notice any leaks, tighten the housing slightly.
Stubborn Clogs: Advanced Techniques
Sometimes, a simple cleaning isn’t enough to tackle stubborn clogs. Here are some advanced techniques:
Boiling the Aerator
If vinegar alone doesn’t do the trick, try boiling the aerator components.
- Place the components (excluding the rubber washer) in a small pot of water.
- Bring the water to a boil and let it simmer for 10-15 minutes.
- Carefully remove the parts from the pot and scrub them with a toothbrush.
Using CLR (Calcium, Lime, Rust Remover)
For extremely stubborn mineral deposits, you can use CLR, but with caution.
- Dilute CLR with water according to the manufacturer’s instructions.
- Soak the aerator components in the diluted CLR solution for a short period (no more than 5-10 minutes).
- Rinse thoroughly with water. Important: CLR is a strong chemical, so handle it with care and wear gloves.
Replacing the Aerator
If your aerator is severely damaged or corroded, it might be best to replace it altogether. Aerators are relatively inexpensive and readily available at most hardware stores.
- Take your old aerator with you to the store to ensure you get the correct size and thread type.
- Install the new aerator following the steps outlined above.
Preventing Future Clogs
Prevention is always better than cure. Here’s how to minimize clogged aerator fix scenarios:
- Regular Cleaning: Clean your aerator every 3-6 months, depending on the hardness of your water.
- Water Softener: If you have hard water, consider installing a water softener to reduce mineral buildup throughout your plumbing system.
- Faucet Filters: Install a faucet filter to remove sediment and other debris from your water supply.
- Avoid Harsh Chemicals: Don’t use harsh chemicals or abrasive cleaners on your faucet, as they can damage the aerator and other components.
Troubleshooting Common Problems
- Aerator Won’t Come Off: Try using a penetrating oil like WD-40 to loosen the threads. Let it sit for 15-20 minutes before attempting to remove the aerator again.
- Aerator Leaks After Cleaning: Make sure the rubber washer is in good condition and properly seated. If it’s damaged, replace it.
- Water Pressure Still Low: If cleaning the aerator doesn’t improve low water pressure faucet, there might be other issues, such as a clogged cartridge or supply lines. Consult a plumber if you’re unable to resolve the problem yourself.
Fathoming Aerator Types
Not all faucets are the same—they use different kinds of aerators (those little mesh screens at the tip), and each one comes apart and cleans up a bit differently. Figuring out which type you have before you start will make the whole job a lot easier and save you some frustration.
| Aerator Type | Description | Removal Method |
|---|---|---|
| Standard Aerator | The most common type, easily visible at the end of the faucet. | Use an adjustable wrench or pliers to unscrew it counterclockwise. |
| Hidden Aerator | Designed to be less noticeable, often recessed inside the faucet spout. | Requires a special aerator key to unlock and unscrew. |
| Push-and-Twist Aerator | Found on some newer faucets, featuring a push-in-and-twist release mechanism. | Push the aerator slightly and twist to release. Refer to the faucet manual. |
| Laminar Flow Aerator | Creates a clear, non-aerated stream of water. | Removal method varies; consult the faucet’s documentation. |
Choosing the right aerator type can also help with your specific needs, balancing water pressure, flow rate, and aesthetic appeal.
Choosing Aerator Cleaning Solutions
While vinegar is often the best choice, there are other options when determining aerator cleaning solutions:
| Solution | Description | Pros | Cons |
|---|---|---|---|
| White Vinegar | A mild acid, excellent for dissolving mineral deposits. | Natural, inexpensive, readily available. | May not be effective for very stubborn clogs. |
| Baking Soda Paste | A mild abrasive, helps scrub away debris. | Gentle, non-toxic, readily available. | Can be messy, less effective on heavy mineral buildup. |
| CLR (Calcium, Lime, Rust Remover) | A stronger chemical solution for stubborn mineral deposits. | Highly effective for dissolving tough buildup. | Harsh chemicals, requires careful handling, may damage certain materials. |
| Lemon Juice | A natural acid, similar to vinegar but with a milder scent. | Natural, pleasant scent, effective for light mineral buildup. | Less potent than vinegar for heavy deposits. |
Choosing the right solution depends on the severity of the clog and your personal preferences for natural versus chemical cleaners.
FAQ: Frequently Asked Questions
- How often should I clean my faucet aerator?
- Every 3-6 months, depending on your water hardness.
- Can I use any type of wrench to remove the aerator?
- It’s best to use an adjustable wrench or pliers with taped jaws to protect the faucet finish.
- What if I can’t find my aerator key?
- You can often purchase a universal aerator key at a hardware store.
- Why is my water pressure still low after cleaning the aerator?
- There might be other issues, such as a clogged cartridge or supply lines. Consult a plumber if necessary.
- Is it safe to use CLR to clean my aerator?
- Yes, but use it with caution. Dilute it according to the manufacturer’s instructions and rinse thoroughly. Wear gloves to protect your skin.
- My aerator is leaking after I put it back on. What should I do?
- Check to make sure that the rubber washer is seated properly. If the washer is damaged, replace it with a new one.

Hi, I’m Larry Fish, the mind behind MyGrinderGuide.com.. With a passion for all things kitchen appliances, I created this blog to share my hands-on experience and expert knowledge. Whether it’s helping you choose the right tools for your culinary adventures or offering tips to make your kitchen more efficient, I’m here to guide you. My goal is to make your time in the kitchen not only easier but also enjoyable! Welcome to my world of kitchen mastery!