
Can you finish bare kitchen cabinets on your own? Absolutely! It is a fantastic way to save some cash and get the exact look you want for your kitchen. This guide will walk you through the steps, tricks, and tips you need to get a professional-quality finish, all while doing it yourself.
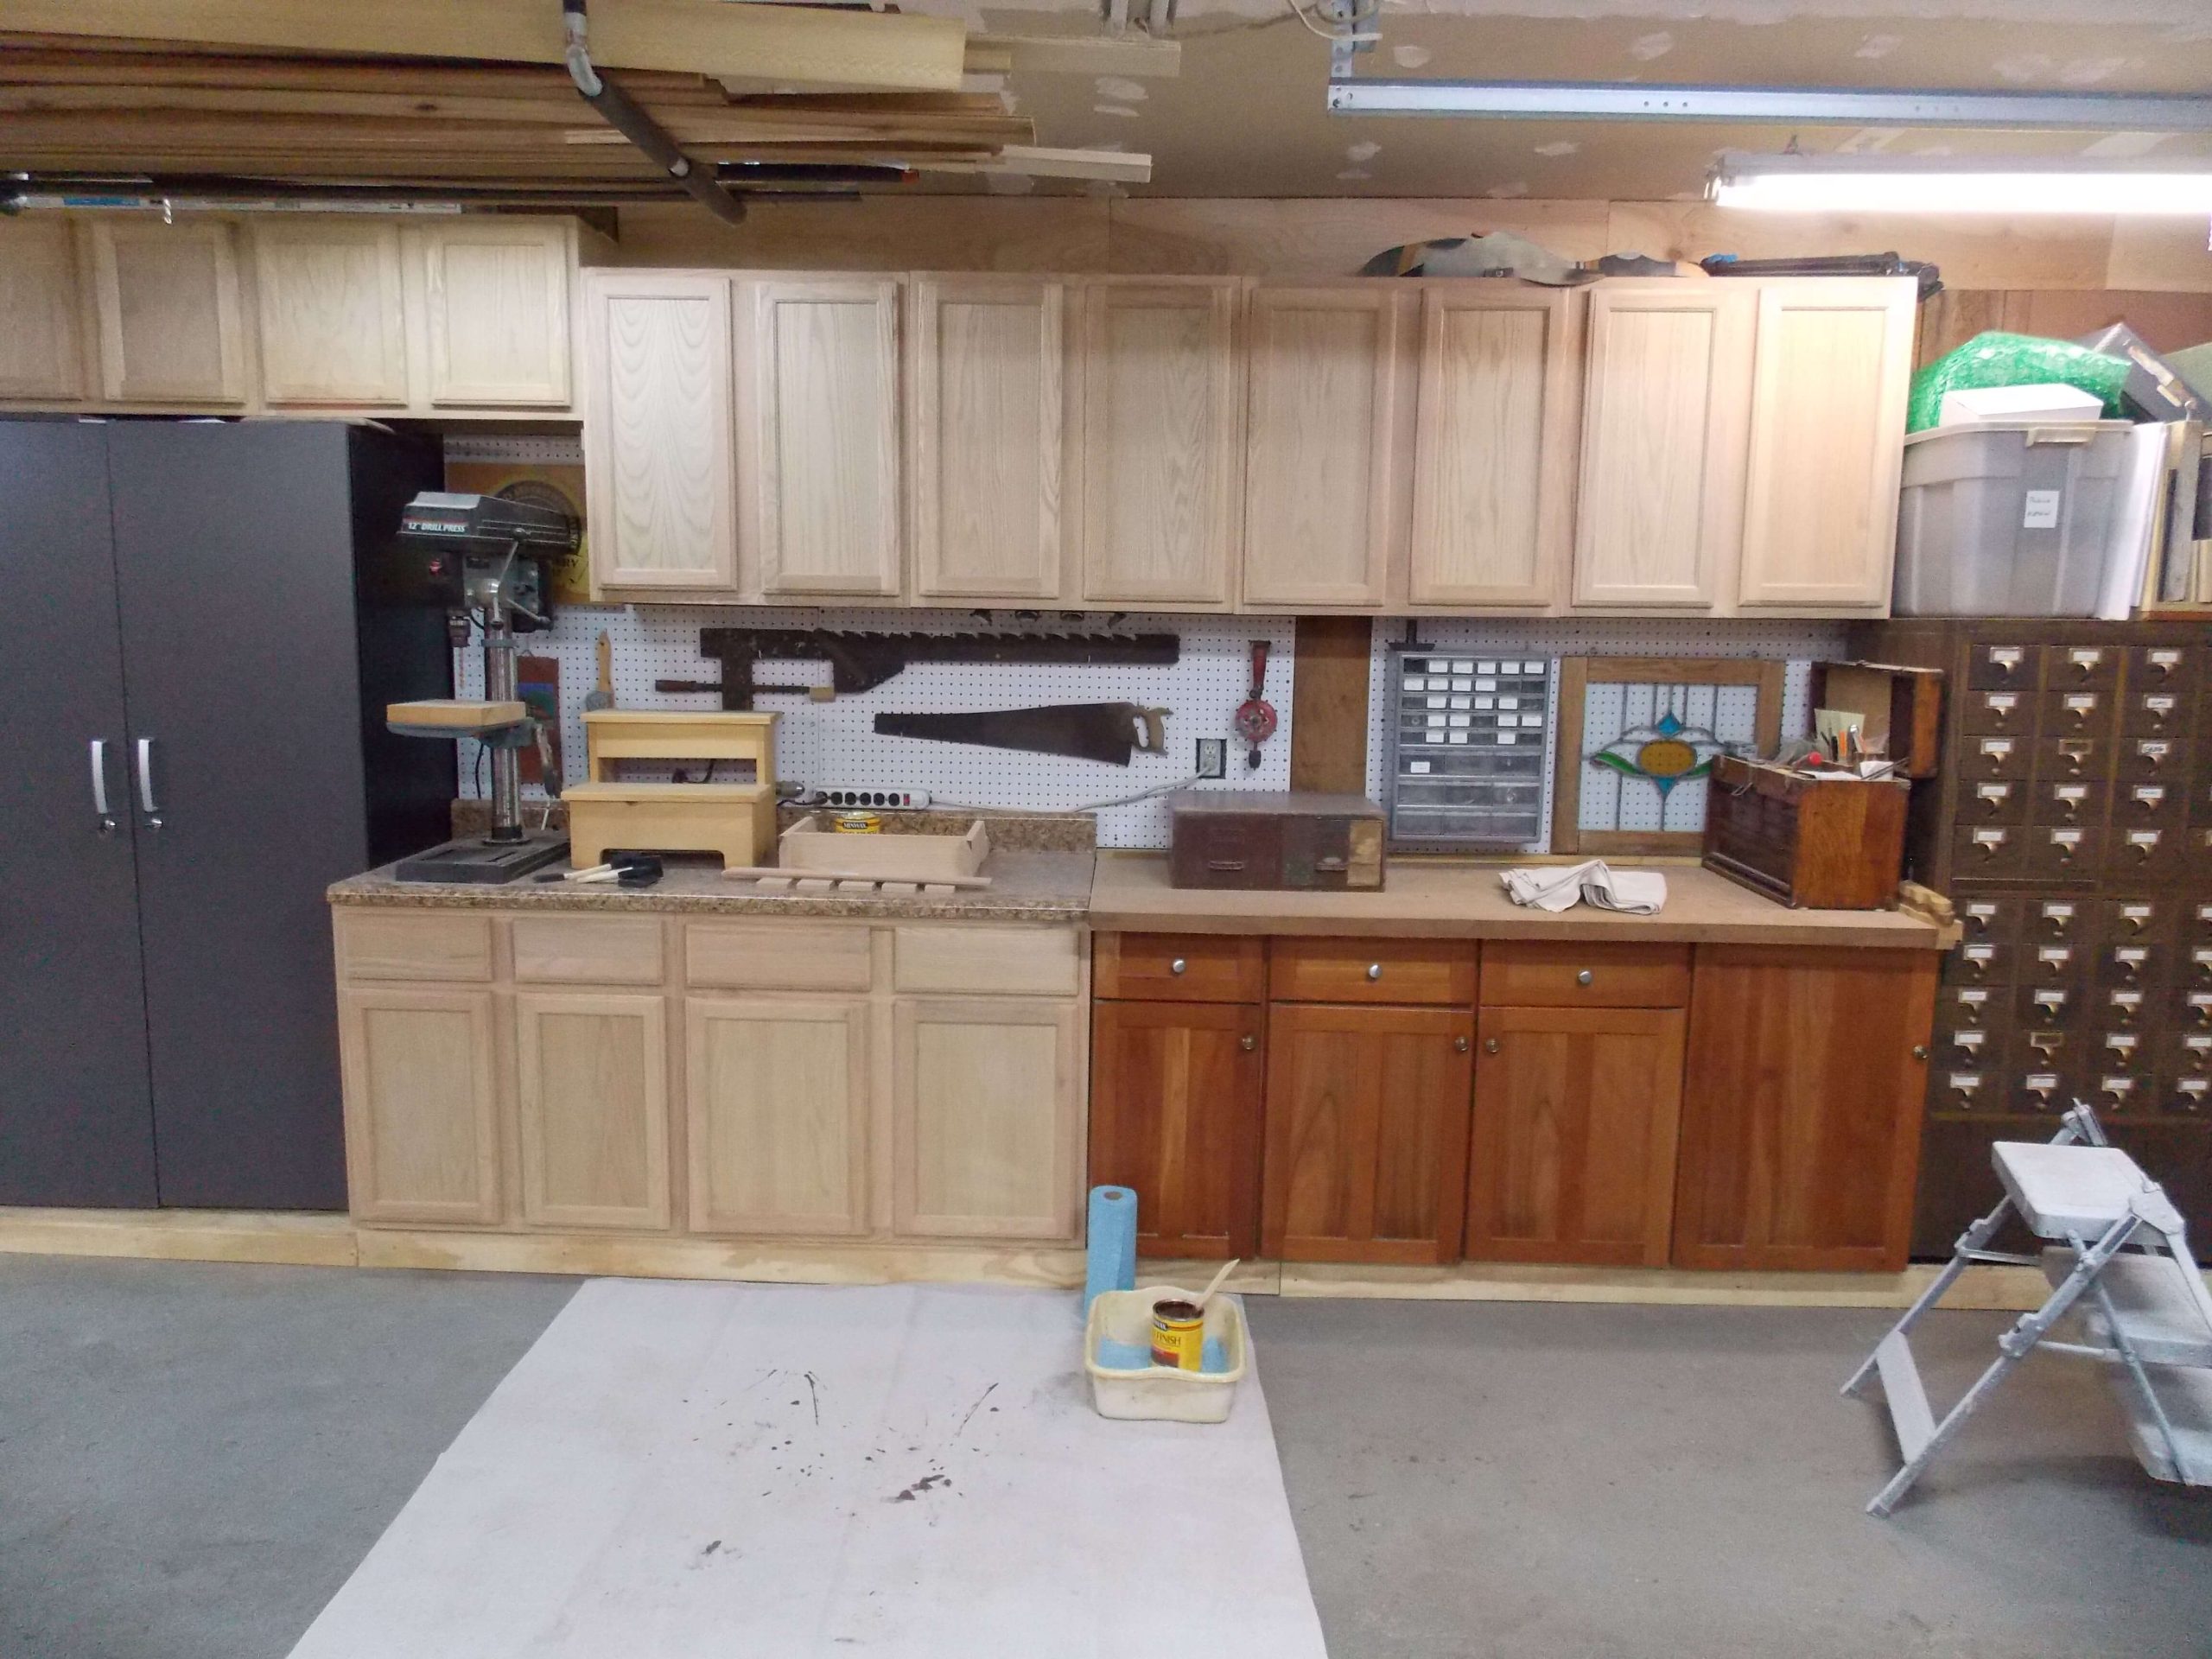
Image Source: www.highlandsdesigns.com
Why Choose Unfinished Kitchen Cabinets?
Unfinished cabinets offer several advantages:
- Cost Savings: They are typically less expensive than pre-finished cabinets.
- Customization: You have complete control over the color, finish, and style.
- Quality Control: You can ensure the cabinets are properly prepared and finished.
- Personal Satisfaction: Completing a DIY project can be very rewarding.
Is this Project Right For You?
Before diving in, consider if this project aligns with your skills and time. Kitchen cabinet finishing involves several steps, each demanding patience and attention to detail. If you enjoy DIY projects and are willing to learn, you can achieve excellent results. If you prefer a quicker option, professional finishing might be a better choice.
Tools and Materials You’ll Need
Before you begin, gather the necessary tools and materials. Having everything on hand will streamline the process and prevent delays.
- Sandpaper: 120-grit, 220-grit, and 320-grit
- Sanding Block or Orbital Sander: For efficient sanding
- Tack Cloth: To remove dust
- Wood Filler: For repairing imperfections
- Primer: High-quality primer suitable for your chosen finish (paint or stain)
- Paint or Stain: Choose based on your desired look
- Polyurethane: Water-based or oil-based for sealing
- Paint Brushes: High-quality brushes for smooth application
- Foam Rollers: For applying paint or polyurethane on flat surfaces
- Lint-Free Rags: For wiping stain or applying polyurethane
- Drop Cloths: To protect your work area
- Painter’s Tape: For masking off areas
- Screwdriver or Drill: For removing and reinstalling hardware
- Safety Glasses: To protect your eyes
- Gloves: To protect your hands
- Ventilation: Fans or open windows for proper ventilation
Step-by-Step Guide to Finishing Unfinished Kitchen Cabinets
Step 1: Preparing the Cabinets
Proper preparation is crucial for a professional finish. This includes cleaning, sanding, and repairing any imperfections. This is critical step to how to prep unfinished cabinets for paint.
Cleaning the Cabinets
- Remove all doors, drawers, and hardware.
- Clean the cabinet surfaces with a mild detergent and water.
- Rinse thoroughly and allow to dry completely.
- Inspect for any glue residue or other contaminants and remove them.
Cabinet Sanding and Priming
- Initial Sanding: Use 120-grit sandpaper to smooth out any rough spots and remove mill glaze (a shiny coating sometimes found on new wood).
- Filling Imperfections: Apply wood filler to any dents, scratches, or gaps. Allow to dry completely and sand smooth with 220-grit sandpaper.
- Fine Sanding: Sand the entire surface with 220-grit sandpaper to create a smooth, even surface for priming.
- Dust Removal: Use a tack cloth to remove all sanding dust. This is a vital step for ensuring a smooth finish.
- Priming: Apply a thin, even coat of high-quality primer. Primer helps the paint or stain adhere better and provides a uniform base.
- Brush Application: Use a brush for corners and detailed areas.
- Roller Application: Use a foam roller for flat surfaces.
- Primer Sanding: Once the primer is dry, lightly sand with 320-grit sandpaper to smooth out any imperfections. Remove dust with a tack cloth.
Step 2: Choosing Your Finish
Selecting the right finish is essential for achieving the desired look and durability. The two main options are paint and stain.
Painting Unfinished Kitchen Cabinets
Painting is a popular choice for kitchen cabinets, offering a wide range of colors and finishes.
- Best Paint for Unfinished Cabinets:
- Acrylic Latex Paint: Durable, easy to clean, and available in various sheens.
- Alkyd Paint: Provides a harder, more durable finish but requires more ventilation.
- Paint Sheen:
- Satin or Semi-Gloss: Ideal for kitchen cabinets due to their durability and ease of cleaning.
- Application:
- Apply two thin, even coats of paint, allowing each coat to dry completely before applying the next.
- Use a brush for corners and detailed areas, and a foam roller for flat surfaces.
- Lightly sand between coats with 320-grit sandpaper to remove any imperfections.
Unfinished Cabinet Staining Guide
Staining enhances the natural beauty of the wood and allows the grain to show through.
- Choosing a Stain:
- Oil-Based Stain: Provides a richer color and better penetration but requires mineral spirits for cleanup.
- Water-Based Stain: Easier to clean up and lower in VOCs but may not penetrate as deeply.
- Stain Application:
- Apply the stain evenly with a brush or lint-free rag.
- Allow the stain to penetrate for the recommended time (refer to the manufacturer’s instructions).
- Wipe off excess stain with a clean, lint-free rag. The longer you leave the stain on, the darker the color will be.
- Allow the stain to dry completely before applying a sealer.
Step 3: Sealing the Cabinets
Sealing is essential for protecting the finish and ensuring the durability of your kitchen cabinets. Applying polyurethane to kitchen cabinets is a common practice.
Applying Polyurethane to Kitchen Cabinets
Polyurethane provides a clear, protective coating that is resistant to scratches, moisture, and chemicals.
- Types of Polyurethane:
- Water-Based Polyurethane: Low odor, dries quickly, and easy to clean up. Tends to be less durable than oil-based.
- Oil-Based Polyurethane: More durable and provides a richer, amber hue but has a strong odor and requires mineral spirits for cleanup.
- Application:
- Apply two to three thin, even coats of polyurethane, allowing each coat to dry completely before applying the next.
- Use a brush or foam roller for application.
- Lightly sand between coats with 320-grit sandpaper to remove any imperfections.
- Ensure proper ventilation during application and drying.
Other Sealing Options
- Varnish: Provides a durable finish but can yellow over time.
- Lacquer: Dries quickly and provides a smooth finish but requires specialized equipment for application.
- Wax: Offers a natural look but provides less protection than polyurethane.
Step 4: Reassembling the Cabinets
Once the finish is completely dry and cured, you can reassemble the cabinets.
- Reinstall Hardware: Attach hinges, knobs, and pulls.
- Reattach Doors and Drawers: Carefully rehang the doors and install the drawers.
- Adjust Hinges: Adjust the hinges as needed to ensure the doors align properly.
- Clean Up: Remove drop cloths and dispose of any waste materials properly.
Finishing Unfinished Cabinet Doors
Finishing unfinished cabinet doors requires the same careful attention to detail as the cabinet frames. Here are some additional tips:
- Flat Surfaces: Use a foam roller for applying primer, paint, or polyurethane to flat door surfaces.
- Detailed Areas: Use a high-quality brush for corners, edges, and decorative details.
- Proper Drying: Ensure the doors are completely dry before reattaching them to the frames.
Achieving a Professional Finish: Tips and Tricks
- Proper Ventilation: Work in a well-ventilated area to avoid inhaling fumes.
- Thin Coats: Apply thin, even coats of primer, paint, and polyurethane to prevent drips and runs.
- Sanding: Sand lightly between coats to remove imperfections and create a smooth surface.
- Dust Removal: Use a tack cloth to remove dust before applying each coat.
- Patience: Allow each coat to dry completely before proceeding to the next step.
- Practice: Practice your finishing techniques on scrap wood before applying them to the cabinets.
Alternatives to Spraying
While spraying can provide a smooth, even finish, it requires specialized equipment and a controlled environment. Here are some alternatives:
- High-Quality Brushes and Rollers: Use high-quality brushes and foam rollers to achieve a smooth finish without spraying.
- Self-Leveling Paints: Use paints that are formulated to self-level, minimizing brush strokes.
- Proper Sanding: Sanding between coats helps to smooth out any imperfections and create a professional-looking finish.
Deciphering Common Problems and Solutions
- Drips and Runs: Sand down the affected area and reapply the finish in thin, even coats.
- Brush Strokes: Use a self-leveling paint and a high-quality brush. Lightly sand between coats to remove brush strokes.
- Uneven Stain: Apply the stain evenly and wipe off excess stain with a clean, lint-free rag.
- Bubbles in Finish: Avoid shaking the finish vigorously. Apply thin coats and allow each coat to dry completely.
Budgeting Your Project
Estimating costs before you start helps you stay on budget. Here is a breakdown of common expenses:
| Item | Estimated Cost |
|---|---|
| Sandpaper | \$10-20 |
| Wood Filler | \$5-10 |
| Primer | \$20-40 |
| Paint or Stain | \$30-60 |
| Polyurethane | \$20-40 |
| Brushes and Rollers | \$15-30 |
| Drop Cloths and Tape | \$10-20 |
| Total Estimated Cost | \$110-220 |
Note: Prices may vary depending on the brand and quality of materials.
FAQ: Frequently Asked Questions
What is the best way to prepare unfinished cabinets for painting?
- The best way to prepare unfinished cabinets for painting involves cleaning, sanding, filling imperfections, and priming. This ensures a smooth, even surface for the paint to adhere to.
Can I use a paint sprayer for finishing kitchen cabinets?
Yes, a paint sprayer can provide a smooth, even finish, but it requires proper setup, ventilation, and practice.
What type of sandpaper should I use for sanding cabinets?
Use 120-grit sandpaper for initial sanding, 220-grit for smoothing, and 320-grit for sanding between coats.
How many coats of polyurethane should I apply?
Apply two to three thin, even coats of polyurethane for adequate protection.
Who is a good choice to hire if I decide not to DIY?
A reputable painting contractor or a cabinet refinishing specialist can provide professional finishing services. Ask for references and check their portfolio before hiring.
Can I stain unfinished cabinets without sanding?
While it’s possible, sanding is highly recommended. Sanding opens the wood pores, allowing the stain to penetrate more evenly and deeply, resulting in a richer, more consistent color. Skipping sanding may lead to a blotchy or uneven finish.
By following this comprehensive guide, you can confidently tackle your DIY kitchen cabinet finishing project and achieve beautiful, professional-looking results. Good luck!

Hi, I’m Larry Fish, the mind behind MyGrinderGuide.com.. With a passion for all things kitchen appliances, I created this blog to share my hands-on experience and expert knowledge. Whether it’s helping you choose the right tools for your culinary adventures or offering tips to make your kitchen more efficient, I’m here to guide you. My goal is to make your time in the kitchen not only easier but also enjoyable! Welcome to my world of kitchen mastery!