
Can you sharpen drill bits on a bench grinder? Yes, with practice and the right technique, you can sharpen drill bits on a bench grinder. This guide provides a simplified, step-by-step approach to effectively sharpening drill bits using a bench grinder, whether you prefer to sharpen drill bits freehand or use a drill bit sharpening jig. We’ll cover everything from setting up your workspace to safety precautions and advanced drill bit sharpening techniques.
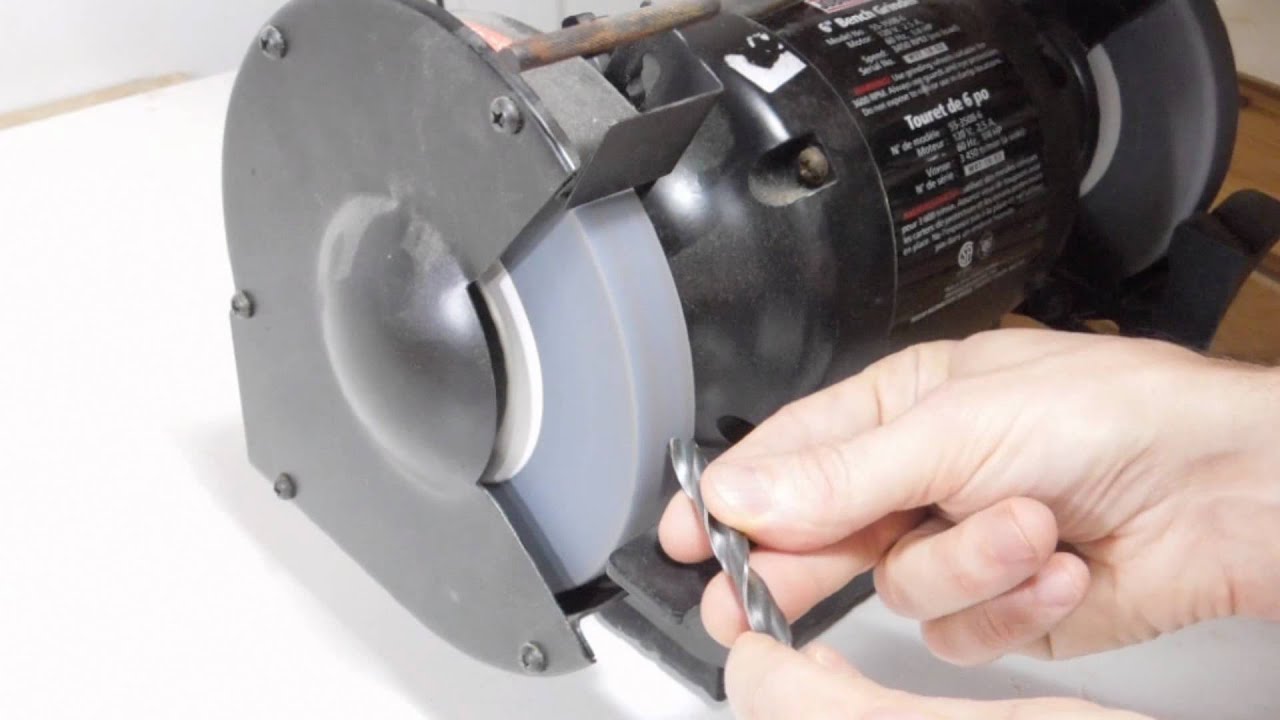
Image Source: i.ytimg.com
Preparing for Drill Bit Sharpening
Before you start grinding, getting your workspace ready is key. This ensures a safe and efficient sharpening process.
Assembling Your Tools and Workspace
Gather these essential items:
- Bench Grinder: A grinder with a medium-grit drill bit sharpening wheel is best. An 80-grit wheel is a good starting point.
- Safety Glasses: Always protect your eyes from flying sparks and metal particles.
- Work Gloves: Provide a better grip and protect your hands from heat and sharp edges.
- Water or Coolant: To cool the drill bit and prevent overheating, which can ruin the temper of the steel.
- *Bench Grinder Angle Guide* (Optional): A drill bit sharpening jig** or angle guide can help maintain the correct angle.
- Magnifying Glass: To inspect the sharpened drill bit.
- Lighting: Good lighting is essential for clear visibility.
Safety First: Protect Yourself
Drill bit sharpening safety is paramount. Here are a few key points:
- Always wear safety glasses.
- Wear gloves to protect your hands.
- Ensure the bench grinder is securely mounted and stable.
- Keep water or coolant nearby to cool the bit.
- Avoid wearing loose clothing or jewelry that could get caught in the grinder.
Setting Up Your Bench Grinder
How you set up your bench grinder affects how well you can sharpen your drill bits.
Choosing the Right Grinding Wheel
Select a medium-grit grinding wheel designed for sharpening tools. A coarser wheel removes material quickly but can be hard to control. A finer wheel takes longer but gives a smoother finish. For high-speed steel (HSS) drill bits, a silicon carbide wheel is a good choice.
Adjusting the Tool Rest
The tool rest should be close to the wheel (about 1/8 inch) to prevent the drill bit from being pulled into the wheel. Adjust the angle of the tool rest to roughly match the drill point angle grinder you want to achieve (usually around 59 degrees for general-purpose drill bits).
Using a Bench Grinder Angle Guide
A bench grinder angle guide makes it easier to maintain the correct angle. Follow the manufacturer’s instructions for setting it up. Place the drill bit in the guide and adjust the guide until the cutting edge is properly aligned with the wheel. A drill bit sharpening jig will also serve the same purpose.
The Step-by-Step Sharpening Process
Now, let’s get to the actual drill bit sharpening techniques. Whether you choose sharpening drill bits freehand or using a jig, the principles are the same.
Step 1: Inspecting the Drill Bit
Before you start, look at the drill bit closely. Note the existing angle and any damage. This helps you determine how much material needs to be removed.
Step 2: Grinding the First Flute
- Hold the drill bit firmly with both hands, using gloves for a better grip.
- Rest the drill bit on the tool rest or drill bit sharpening jig at the desired angle (around 59 degrees).
- Bring the cutting edge of the drill bit lightly against the grinding wheel.
- Rotate the drill bit slightly downwards, following the original angle of the cutting edge.
- Use light pressure and short, controlled passes.
- Cool the drill bit in water or coolant frequently to prevent overheating.
Step 3: Grinding the Second Flute
Repeat the process on the second flute, making sure to remove the same amount of material as the first flute. This ensures both cutting edges are equal in length and angle. This is crucial for a balanced and efficient cut.
Step 4: Checking the Angle and Length
After grinding both flutes, check the angle and length of the cutting edges. They should be symmetrical. Use a bench grinder angle guide or a protractor to verify the angle.
Step 5: Fine-Tuning
If the angles or lengths are uneven, make small adjustments to correct them. A few light passes are usually enough.
Step 6: Creating Clearance
The clearance angle behind the cutting edge is what allows the drill bit to cut efficiently. This is achieved by creating a slight curve behind the cutting edge.
- After grinding the faces, lower the back edge of each flute slightly onto the wheel.
- Use very light pressure and a gentle rocking motion to create a small amount of relief.
- This ensures that only the cutting edge is in contact with the material being drilled.
Advanced Drill Bit Sharpening Techniques
Once you’re comfortable with the basic sharpening process, you can explore advanced techniques to improve your results.
Split Point Sharpening
A split point drill bit has a “split” or “notch” ground into the tip, which helps it center more easily and reduces walking. This technique requires more skill and precision but can significantly improve drilling performance.
- Sharpen the drill bit using the standard method first.
- Then, use a small grinding wheel or a specialized tool to create a small notch at the tip of the drill bit.
- Make sure the notch is centered and symmetrical.
Four-Facet Grinding
Four-facet grinding is a way of sharpening where you create four flat surfaces on the tip of the drill bit. This helps the bit cut through material much better and keeps the edges from chipping or breaking. It is a bit more complicated to do, though, so it usually takes some practice before you really get the hang of it.
- Sharpen the drill bit using the standard method.
- Then, create two additional facets on each side of the drill bit, angling them slightly inward.
- The four facets create a more aggressive cutting edge.
How to Grind Drill Bits Properly: Freehand vs. Using a Jig
There are two main methods: sharpening freehand and using a jig. Each has pros and cons.
Sharpening Drill Bits Freehand
Pros:
- Faster once you develop the skill.
- No need for additional equipment.
- Adaptable to different drill bit sizes and shapes.
Cons:
- Requires significant practice and skill.
- Harder to maintain consistent angles.
- Higher risk of errors.
Tips for Sharpening Freehand:
- Practice regularly to develop muscle memory.
- Use a reference drill bit as a guide.
- Take your time and focus on maintaining the correct angle.
Using a Drill Bit Sharpening Jig
Pros:
- Easier to maintain consistent angles.
- More accurate results.
- Reduces the learning curve.
Cons:
- Requires purchasing a jig.
- May not be suitable for all drill bit sizes and shapes.
- Can be slower than sharpening freehand.
Tips for Using a Jig:
- Follow the manufacturer’s instructions carefully.
- Adjust the jig to the correct angle before sharpening.
- Use light pressure and controlled passes.
Maintaining Your Drill Bits
Sharpening dull drill bits is essential, but proper maintenance will extend their life and performance.
Cleaning and Storage
- Clean drill bits after each use to remove debris and prevent rust.
- Store drill bits in a dedicated case or organizer to protect them from damage.
- Apply a light coat of oil to prevent rust, especially if storing them for a long period.
Regular Inspection
- Check drill bits regularly for signs of wear, damage, or dullness.
- Sharpen drill bits as soon as they start to lose their cutting efficiency.
- Replace drill bits that are severely damaged or worn out.
Common Mistakes to Avoid
Metalworking drill sharpening can be challenging. Avoid these mistakes:
- Overheating: Grinding too aggressively can overheat the drill bit and ruin the temper of the steel. Cool the bit frequently.
- Incorrect Angle: Maintaining the correct angle is essential for proper cutting performance. Use a bench grinder angle guide if needed.
- Uneven Grinding: Remove the same amount of material from both flutes to ensure the drill bit is balanced.
- Ignoring Clearance: Creating the proper clearance angle behind the cutting edge is crucial for efficient cutting.
Choosing the Right Drill Bit
Different drill bits are designed for specific materials. Using the right drill bit for the job can extend its life and improve drilling performance.
| Drill Bit Type | Material | Characteristics |
|---|---|---|
| High-Speed Steel (HSS) | Wood, plastic, soft metals | General-purpose, cost-effective |
| Cobalt | Hard metals, stainless steel | Heat-resistant, durable |
| Titanium-Coated | Wood, plastic, soft metals | Improved wear resistance |
| Carbide-Tipped | Masonry, concrete | Extremely hard, long-lasting |
Troubleshooting Common Issues
Even with the best techniques, problems can arise. Here’s how to troubleshoot common issues:
| Issue | Possible Cause | Solution |
|---|---|---|
| Drill bit won’t cut | Dull cutting edges | Sharpen the drill bit |
| Drill bit wanders | Uneven cutting edges | Sharpen both flutes equally |
| Drill bit overheats | Grinding too aggressively | Use light pressure and cool the bit frequently |
| Drill bit chips | Incorrect angle | Adjust the sharpening angle |
| Drill bit breaks | Using the wrong drill bit for the material | Use a drill bit designed for the material |
Resources for Further Learning
- Online tutorials and videos: YouTube, Skillshare
- Metalworking forums and communities: Practical Machinist, Metalworking Fun
- Books on metalworking and tool sharpening: “The Complete Guide to Sharpening” by Leonard Lee
Frequently Asked Questions (FAQ)
- What is the best grit for sharpening drill bits? A medium-grit wheel (around 80-grit) is generally best for sharpening drill bits.
- Can I use a regular grinding wheel for drill bits? It’s better to use a wheel specifically designed for sharpening tools, as it will provide a more precise and controlled grind.
- Who is responsible for safety in the workshop? Everyone in the workshop is responsible for their own safety and the safety of others.
- Is it better to sharpen drill bits freehand or with a jig? It depends on your skill level and preference. Freehand sharpening is faster once you develop the skill, but a jig is easier and more accurate for beginners.
- What is the ideal drill point angle? For general-purpose drill bits, the ideal angle is around 118 degrees.
- What do I do if I grind my drill bit too short? If a drill bit is too short, you may not be able to use it for deep holes. Consider using it for shallow drilling or using a drill bit extension.
By following this guide, you can how to grind drill bits properly and extend the life of your drill bits, saving time and money. Remember that practice and patience are key to mastering the art of drill bit sharpening.

Hi, I’m Larry Fish, the mind behind MyGrinderGuide.com.. With a passion for all things kitchen appliances, I created this blog to share my hands-on experience and expert knowledge. Whether it’s helping you choose the right tools for your culinary adventures or offering tips to make your kitchen more efficient, I’m here to guide you. My goal is to make your time in the kitchen not only easier but also enjoyable! Welcome to my world of kitchen mastery!