
How do you clean an electric coffee grinder? You can clean an electric coffee grinder using a combination of simple tools like a brush, a vacuum, and materials like rice or grinder cleaning tablets. Regular cleaning coffee grinder practices are crucial for maintaining coffee grinder performance and ensuring your coffee tastes its best. This guide provides comprehensive coffee grinder cleaning tips to keep your grinder in top shape.
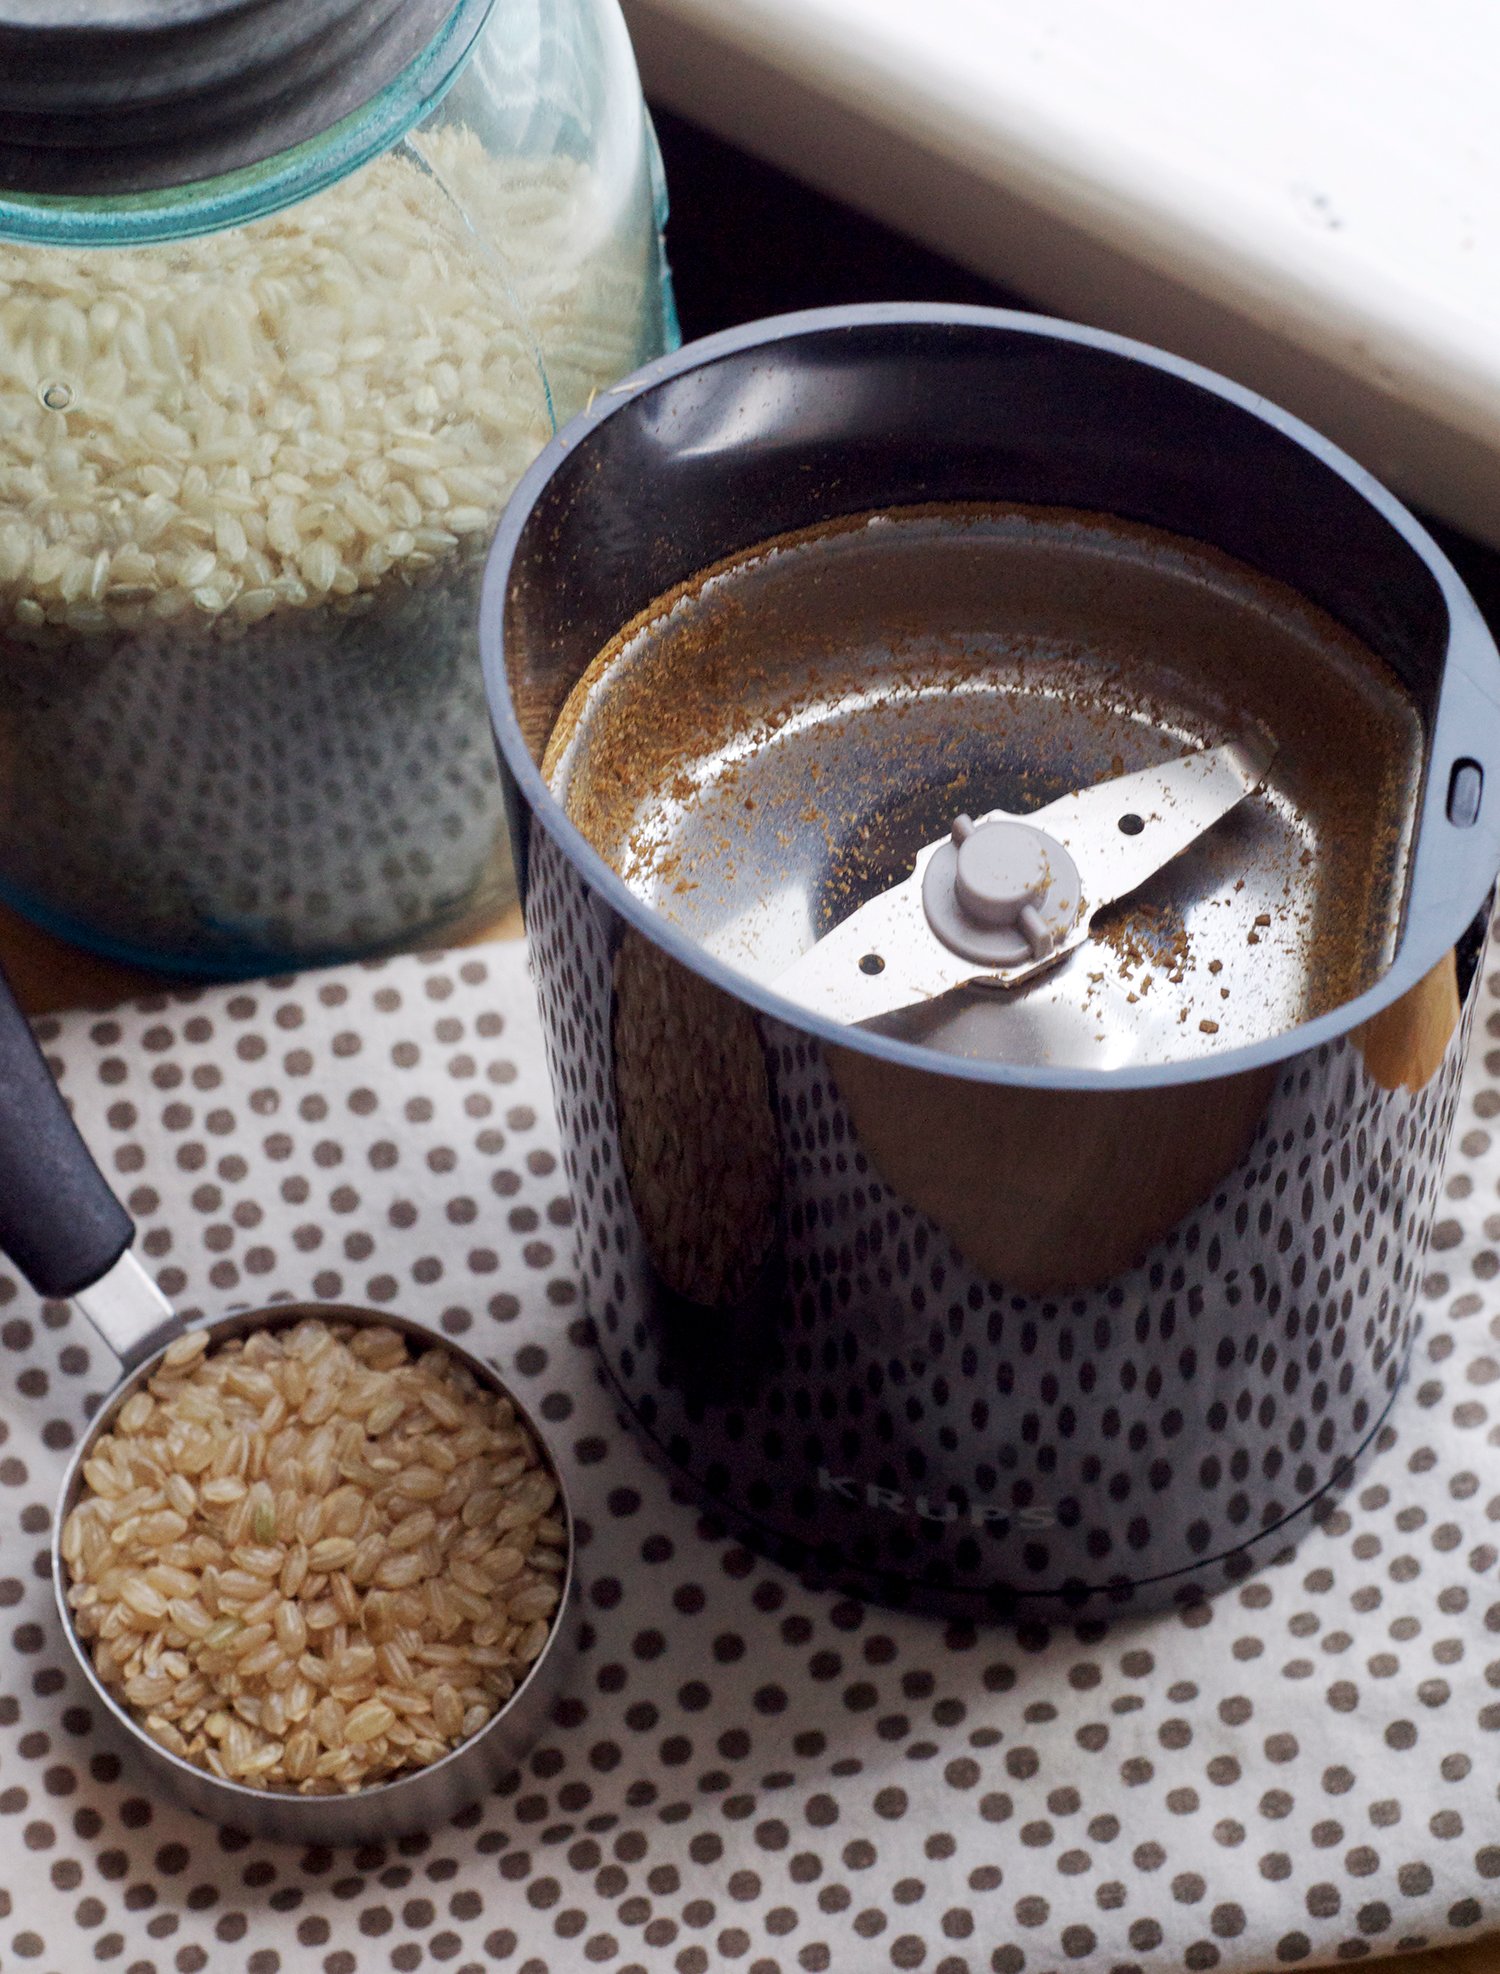
Image Source: storage.googleapis.com
The Importance of Routine Electric Coffee Grinder Maintenance
Why bother cleaning coffee residue from your electric coffee grinder? Imagine brewing a cup of your favorite coffee only to be met with a stale, bitter taste. The culprit is often old coffee grounds and oils clinging to the burrs and internal components of your grinder. These remnants not only affect the flavor of your fresh coffee but also hinder the grinder’s efficiency and lifespan.
- Better Tasting Coffee: Removing old grounds prevents flavor contamination.
- Improved Grinder Performance: Clean burrs grind beans more efficiently, resulting in a consistent grind size.
- Extended Lifespan: Regular cleaning prevents the buildup of oils that can cause corrosion and damage.
- Reduced Risk of Clogs: Removing coffee grounds prevents blockages that can strain the motor.
Signs Your Coffee Grinder Needs a Cleaning
It’s not always obvious when your grinder needs a good cleaning. Here are some telltale signs:
- Coffee Tastes Stale or Bitter: This is usually the first indicator.
- Grinder Struggles to Grind: The motor sounds strained, or the grinding takes longer.
- Inconsistent Grind Size: You notice more fines (very small particles) or larger chunks than usual.
- Visible Buildup: Check the burrs and dispensing area for visible coffee grounds and oily residue.
- Unpleasant Odor: A stale or rancid smell emanating from the grinder.
Essential Coffee Grinder Cleaning Supplies
Before diving into the cleaning process, gather your coffee grinder cleaning supplies. Having the right tools will make the job easier and more effective.
| Supply | Purpose | Alternative |
|---|---|---|
| Grinder Cleaning Brush | Loosening and removing coffee grounds from burrs and crevices. | Small paint brush or toothbrush |
| Small Vacuum Cleaner | Suctioning loose coffee grounds. | Canned air or a strong hairdryer (cool setting) |
| White Rice | Absorbing coffee oils and debris. | Grinder cleaning tablets |
| Microfiber Cloth | Wiping down the exterior and interior components. | Soft paper towels |
| Mild Dish Soap | Cleaning removable parts. | Baking soda paste |
| Small Screwdriver | Disassembling the grinder (if necessary). | Check your grinder’s manual for specific tools. |
Coffee Grinder Cleaning Methods: Step-by-Step
There are several coffee grinder cleaning methods you can use, depending on the type of grinder you have and the level of cleaning required. We’ll cover the most common and effective techniques.
Quick Cleaning: The Daily Routine
This is a simple, quick clean you should perform after each use or at least daily.
- Unplug the Grinder: Always disconnect the grinder from the power source before cleaning.
- Empty the Hopper: Remove any remaining coffee beans from the hopper.
- Brush the Burrs: Use your grinder cleaning brush to gently brush away any loose coffee grounds from the burrs. Pay attention to the nooks and crannies.
- Wipe Down the Exterior: Use a damp microfiber cloth to wipe down the exterior of the grinder.
Deep Cleaning: The Monthly Ritual
You should give your grinder a deep clean like this once a month. If you use it every day or like using oily coffee beans, you’ll probably want to do it even more often.
Method 1: Using Rice
This method utilizes rice to absorb coffee oils and dislodge grounds.
- Unplug the Grinder: Safety first!
- Disassemble the Grinder: Consult your grinder’s manual for instructions on how to disassemble it. Typically, this involves removing the hopper and any removable burrs.
- Vacuum Loose Grounds: Use a small vacuum cleaner to remove any loose grounds from the grinder’s interior.
- Grind Rice: Pour about ¼ cup of uncooked white rice into the grinder. Grind the rice as you would coffee beans. The rice will absorb coffee oils and help dislodge any stuck-on grounds.
- Clean with Brush: Brush away rice flour from grinder.
- Wipe Down Components: Wipe down all removable parts with a damp microfiber cloth. Use a mild dish soap solution for stubborn residue. Rinse thoroughly and allow to dry completely before reassembling.
- Reassemble the Grinder: Carefully reassemble the grinder according to the manufacturer’s instructions.
- Grind a Small Amount of Coffee: Grind a small amount of inexpensive coffee to remove any remaining rice residue. Discard this coffee.
Method 2: Using Grinder Cleaning Tablets
Grinder cleaning tablets are specifically designed to remove coffee oils and residue without damaging the grinder.
- Unplug the Grinder: Disconnect from power.
- Empty the Hopper: Make sure there are no coffee beans.
- Add Cleaning Tablets: Follow the manufacturer’s instructions for the amount of cleaning tablets to use. Typically, you’ll add 1-2 tablets to the hopper.
- Grind the Tablets: Grind the cleaning tablets as you would coffee beans.
- Vacuum or Brush: Remove any loose residue from the grinder’s interior using a vacuum cleaner or brush.
- Wipe Down Components: Wipe down all removable parts with a damp microfiber cloth.
- Grind a Small Amount of Coffee: Grind a small amount of inexpensive coffee to remove any remaining tablet residue. Discard this coffee.
Cleaning a Burr Grinder
How to clean burr grinder components effectively? Burr grinders require special attention due to their intricate burr design. The steps are similar to the deep cleaning methods described above, but with a focus on thoroughly cleaning the burrs.
- Disassemble: Follow your grinder’s manual to carefully disassemble the burrs.
- Brush: Use a grinder cleaning brush to meticulously clean the burrs, paying attention to the teeth and grooves.
- Soak (Optional): For stubborn residue, soak the burrs in a solution of warm water and mild dish soap for a few minutes. Rinse thoroughly and dry completely before reassembling.
- Reassemble: Reassemble the burrs carefully.
Removing Coffee Grounds from Grinder: Dealing with Clogs
Sometimes, coffee grounds can clog the grinder, preventing it from working properly. Here’s how to address this issue:
- Unplug the Grinder: Always disconnect from the power.
- Check for Obstructions: Visually inspect the burrs and dispensing area for any large clumps of coffee grounds.
- Use a Stiff Brush: Use a stiff brush or toothpick to dislodge any visible obstructions.
- Vacuum: Use a vacuum cleaner to suction out any loose grounds.
- Disassemble (If Necessary): If the clog persists, you may need to disassemble the grinder to access the blocked area.
- Reassemble: Reassemble the grinder carefully.
Troubleshooting Common Issues
Issue: Grinder is making a strange noise after cleaning.
Solution: Ensure all parts are correctly reassembled. Check for any loose screws or components.
Issue: Coffee still tastes stale after cleaning.
Solution: Repeat the deep cleaning process. Consider using a different cleaning method, such as grinder cleaning tablets. Also, check the quality of your coffee beans.
Issue: Grinder is not grinding evenly.
Solution: Ensure the burrs are properly aligned. Check for any damage to the burrs.
Additional Coffee Grinder Cleaning Tips
- Use Filtered Water: When cleaning removable parts, use filtered water to avoid mineral buildup.
- Dry Thoroughly: Ensure all parts are completely dry before reassembling the grinder to prevent rust and corrosion.
- Avoid Abrasive Cleaners: Do not use abrasive cleaners or scouring pads, as they can damage the burrs and other components.
- Store Properly: Store your grinder in a dry, cool place to prevent moisture buildup.
- Clean Regularly: Regular cleaning is key to maintaining your grinder’s performance and extending its lifespan.
FAQ: Frequently Asked Questions
Can I use water to clean my electric coffee grinder?
Yes, you can use water to clean removable parts, but make sure to dry them completely before reassembling. Avoid getting water inside the motor or electrical components.
What is the best way to clean a coffee grinder?
The best way depends on how dirty the grinder is. For routine cleaning, a brush and vacuum are sufficient. For a deeper clean, use rice or grinder cleaning tablets.
How often should I clean my coffee grinder?
You should do a quick cleaning after each use or daily. A deep cleaning should be done monthly or more frequently if you grind a lot of coffee.
What happens if I don’t clean my coffee grinder?
If you don’t clean your coffee grinder, old coffee grounds and oils will accumulate, affecting the flavor of your coffee and hindering the grinder’s performance. It can also lead to corrosion and damage, shortening the grinder’s lifespan.
Are coffee grinder cleaning tablets safe to use?
Yes, coffee grinder cleaning tablets are generally safe to use, as long as you follow the manufacturer’s instructions. They are specifically designed to remove coffee oils and residue without damaging the grinder.
How do I remove coffee stains from my coffee grinder?
For stubborn coffee stains, use a paste of baking soda and water. Apply the paste to the stained area, let it sit for a few minutes, and then wipe it away with a damp cloth.
What is the best brush for cleaning a coffee grinder?
The best brush for cleaning a coffee grinder is a small, stiff-bristled brush specifically designed for this purpose. These brushes are often made of nylon or natural fibers and are designed to reach into the nooks and crannies of the grinder.
How to prevent coffee grounds from sticking to grinder?
Regular cleaning is the best way to prevent coffee grounds from sticking to the grinder. Additionally, using high-quality, less oily coffee beans can help reduce the buildup of residue.

Hi, I’m Larry Fish, the mind behind MyGrinderGuide.com.. With a passion for all things kitchen appliances, I created this blog to share my hands-on experience and expert knowledge. Whether it’s helping you choose the right tools for your culinary adventures or offering tips to make your kitchen more efficient, I’m here to guide you. My goal is to make your time in the kitchen not only easier but also enjoyable! Welcome to my world of kitchen mastery!