
What is the best way to pack a bowl without a grinder? The best way is to break the weed into small, even pieces by hand or with a household item, ensuring good airflow and even burning. This guide will show you exactly how to achieve the best no grinder bowl packing experience.
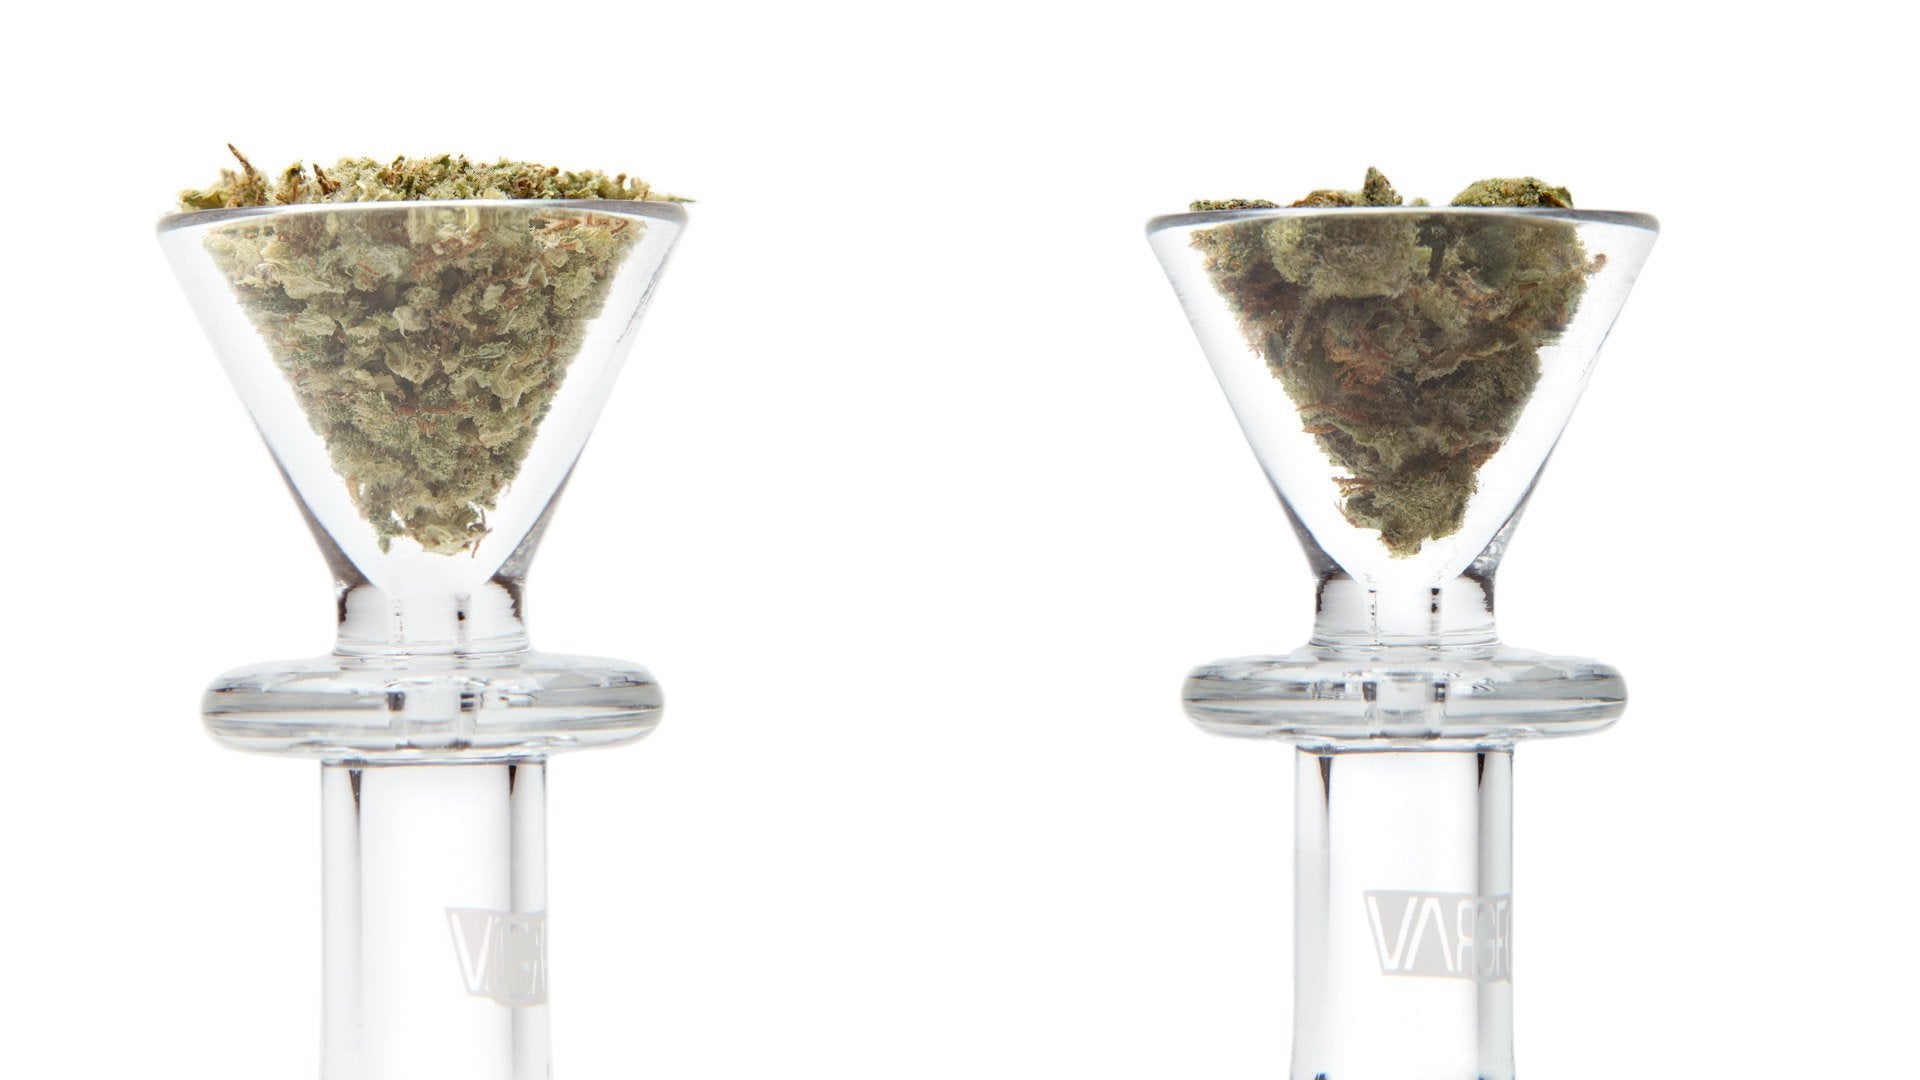
Image Source: www.420science.com
Mastering the Art of Packing a Bowl Without a Grinder
Not everyone has a grinder nearby when they’re ready to relax. While it might seem tough to pack a bowl without one, there are actually a few simple tricks you can use to get a smooth, even burn and great flavor.
This guide will show you several easy ways to break down your herb by hand or with basic household items. That way, you’ll be ready for a session even if you’ve misplaced your favorite grinder.
Why Grinding Matters (and Why You Don’t Always Need To)
Ideally, using a grinder is the easiest way to evenly break up your weed. Grinding does a few things:
- Increases Surface Area: Ground weed has a larger surface area, which means it burns more evenly and efficiently.
- Consistent Burn: Evenly sized pieces ensure a consistent burn, preventing hot spots and wasted herb.
- Better Airflow: Ground weed creates better airflow in the bowl, allowing for smoother hits.
However, a grinder isn’t always necessary. You can still achieve a great smoking experience using alternative grinder methods weed that don’t require any special equipment.
The Hand-Breaking Method: A Classic Technique
The simplest and most common method for hand breaking weed for bowl is using your fingers. It’s the technique most smokers start with, and when done right, it’s surprisingly effective.
Step-by-Step Guide to Hand-Breaking Weed
- Clean Your Hands: Wash your hands thoroughly with soap and water. This is crucial to avoid introducing unwanted oils, dirt, or germs to your weed.
- Pick Apart the Bud: Start by selecting a small bud from your stash. Gently start pulling it apart with your fingers.
- Remove Stems and Seeds: As you break apart the bud, remove any stems or seeds. Stems don’t burn well and can harsh the smoke, while seeds can pop and ruin your experience.
- Tear Into Small Pieces: Continue tearing the weed into smaller pieces. Aim for a consistent size, roughly the size of rice grains. This will ensure a more even burn. Tearing weed for smoking is more about the even sizes than how tiny you can make it.
- Load the Bowl: Once you have a sufficient amount of broken weed, carefully load it into your bowl.
Tips for Optimal Hand-Breaking
- Moisture is Key: If your weed is too dry, it will crumble into dust, which burns too quickly and can clog your bowl. If it’s too moist, it will be difficult to break apart. Aim for a slightly sticky but pliable consistency.
- Avoid Over-Compacting: Don’t pack the bowl too tightly. This restricts airflow and makes it difficult to light.
- Layer Your Bowl: Start with slightly larger pieces at the bottom of the bowl to prevent smaller pieces from falling through. Then, pack the rest of the bowl with your evenly broken weed.
DIY Weed Grinding Techniques: When Fingers Aren’t Enough
Sometimes, your fingers might not be the best tool for the job, especially if your weed is particularly sticky or dense. That’s when DIY weed grinding techniques come in handy. These makeshift weed grinder options can provide a surprisingly effective alternative.
1. The Shot Glass and Scissors Method
This method utilizes common household items to mimic the grinding action of a traditional grinder.
- Gather Your Supplies: You’ll need a clean shot glass (or any small, sturdy glass), a pair of small scissors (clean!), and your weed.
- Place Weed in Glass: Put a small amount of weed into the shot glass. Don’t overfill it; you need room to maneuver the scissors.
- Insert Scissors and Chop: Insert the scissors into the glass and start chopping the weed into smaller pieces. Use a gentle, rocking motion to avoid damaging the glass.
- Check for Consistency: Periodically check the consistency of the weed. Continue chopping until it’s broken down to your desired size.
- Remove and Load: Carefully remove the chopped weed from the glass and load it into your bowl.
2. The Coffee Mug and Scissors Method
Similar to the shot glass method, this uses a coffee mug for larger quantities.
- Gather Supplies: A clean coffee mug and clean scissors.
- Place Weed in Mug: Put the weed into the mug.
- Chop it up: Use the scissors to chop the weed until you reach your desired consistency.
- Remove and Load: Carefully remove the chopped weed and load it into your bowl.
3. The Mortar and Pestle Method
If you have a mortar and pestle in your kitchen, it can be surprisingly effective for grinding weed.
- Clean Your Mortar and Pestle: Make sure your mortar and pestle are clean and free of any food residue.
- Place Weed in Mortar: Place a small amount of weed into the mortar.
- Grind with Pestle: Use the pestle to gently grind the weed. Apply steady pressure and rotate the pestle in a circular motion.
- Check for Consistency: Check the consistency of the weed periodically. Continue grinding until it’s broken down to your desired size.
- Remove and Load: Carefully remove the ground weed from the mortar and load it into your bowl.
4. Coin and Pill Bottle Shake
This method is great for smaller amounts.
- Gather: A clean pill bottle with a tight lid, a clean coin, and your weed.
- Load: Place the weed and the coin into the pill bottle.
- Shake: Seal the lid tightly and shake vigorously for 30-60 seconds.
- Check: Open and check the weed. Repeat shaking if needed.
- Remove and Load: Carefully remove the contents and load your bowl.
Table: Comparing DIY Weed Grinding Techniques
| Method | Pros | Cons | Best For |
|---|---|---|---|
| Shot Glass and Scissors | Readily available, effective for small amounts | Can be messy, requires careful handling of scissors | Small to medium amounts of weed |
| Coffee Mug and Scissors | Readily available, effective for larger amounts | Can be messy, requires careful handling of scissors | Large amounts of weed |
| Mortar and Pestle | Provides a consistent grind, preserves trichomes | Requires a mortar and pestle, can be time-consuming | Achieving a fine grind |
| Coin and Pill Bottle Shake | Simple, portable, requires minimal equipment | Can be inconsistent, may damage trichomes | Small amounts, on-the-go situations |
Packing the Bowl: The Final Touch
Once you’ve broken down your weed, the next step is to pack the bowl correctly. Proper packing ensures optimal airflow and an even burn.
Techniques for Packing
- The Layering Method: Start with a layer of slightly larger pieces at the bottom of the bowl to prevent smaller pieces from falling through. Then, pack the rest of the bowl with your evenly broken weed.
- The Gentle Press: Use your finger or a packing tool to gently press down on the weed. Don’t over-pack it; you want to leave some room for airflow.
- The “Cornering” Technique: When lighting the bowl, focus on one corner at a time. This allows you to conserve weed and enjoy more flavorful hits.
Common Packing Mistakes to Avoid
- Over-Packing: Packing the bowl too tightly restricts airflow, making it difficult to light and inhale.
- Under-Packing: Packing the bowl too loosely causes the weed to burn too quickly and unevenly.
- Uneven Distribution: Failing to distribute the weed evenly can result in hot spots and wasted herb.
Achieving Optimal Burn and Flavor Without a Grinder
Even without a grinder, you can still achieve a smooth, flavorful smoking experience by paying attention to a few key factors.
Consistency is Key
Whether you’re using your fingers or a DIY grinding method, strive for a consistent grind. Evenly sized pieces ensure a more consistent burn and prevent hot spots.
Airflow is Essential
Proper airflow is crucial for a smooth, enjoyable smoking experience. Avoid over-packing the bowl and leave some room for air to circulate.
Don’t Overheat
Avoid overheating the bowl by taking slow, controlled hits. This prevents the weed from burning too quickly and preserves its flavor.
Clean Your Pipe Regularly
Residue buildup can affect the taste and airflow of your pipe. Clean it regularly with rubbing alcohol and salt to maintain optimal performance.
Other Options
If you are still struggling, you can try some of these options:
- Purchase a cheap grinder: They are very affordable online and at local smoke shops.
- Borrow a grinder: Ask a friend if you can borrow theirs.
- Use pre-ground weed: Purchase pre-ground weed to avoid the issue entirely.
Fathoming the Nuances of Different Weed Types
The type of weed you’re working with can affect how easy it is to break down without a grinder.
Dense Buds
Dense buds are often more difficult to break apart by hand. They may require a more aggressive method, such as the scissors or mortar and pestle technique.
Dry Buds
Dry buds tend to crumble easily, which can make it difficult to achieve a consistent grind. Moisten the weed slightly by placing it in a sealed container with a small piece of orange peel for a few hours.
Sticky Buds
Sticky buds can be challenging to break apart with your fingers, as they tend to clump together. Try using the shot glass and scissors method or freezing the buds for a few minutes to make them easier to handle.
FAQ: No Grinder Bowl Packing
- Can I use a cheese grater to grind weed? Yes, but it’s not recommended. It can be messy and difficult to clean, and the resulting grind may be uneven.
- Is it okay to smoke weed that hasn’t been ground? Yes, but it won’t burn as efficiently or evenly. You’ll likely experience hot spots and wasted herb.
- What is the best way to store weed without a grinder? Store your weed in an airtight container in a cool, dark place to preserve its freshness and potency.
- Who is going to know if I don’t use a grinder? No one! These methods work just as well, but a grinder is slightly better.
- What’s the point of even using a pipe? Pipes are a great, easy way to smoke on the go.
By mastering these techniques and tips, you can confidently pack a bowl without a grinder and enjoy a smooth, flavorful smoking experience every time. Remember, the key is to focus on consistency, airflow, and careful packing. Happy smoking!

Hi, I’m Larry Fish, the mind behind MyGrinderGuide.com.. With a passion for all things kitchen appliances, I created this blog to share my hands-on experience and expert knowledge. Whether it’s helping you choose the right tools for your culinary adventures or offering tips to make your kitchen more efficient, I’m here to guide you. My goal is to make your time in the kitchen not only easier but also enjoyable! Welcome to my world of kitchen mastery!