
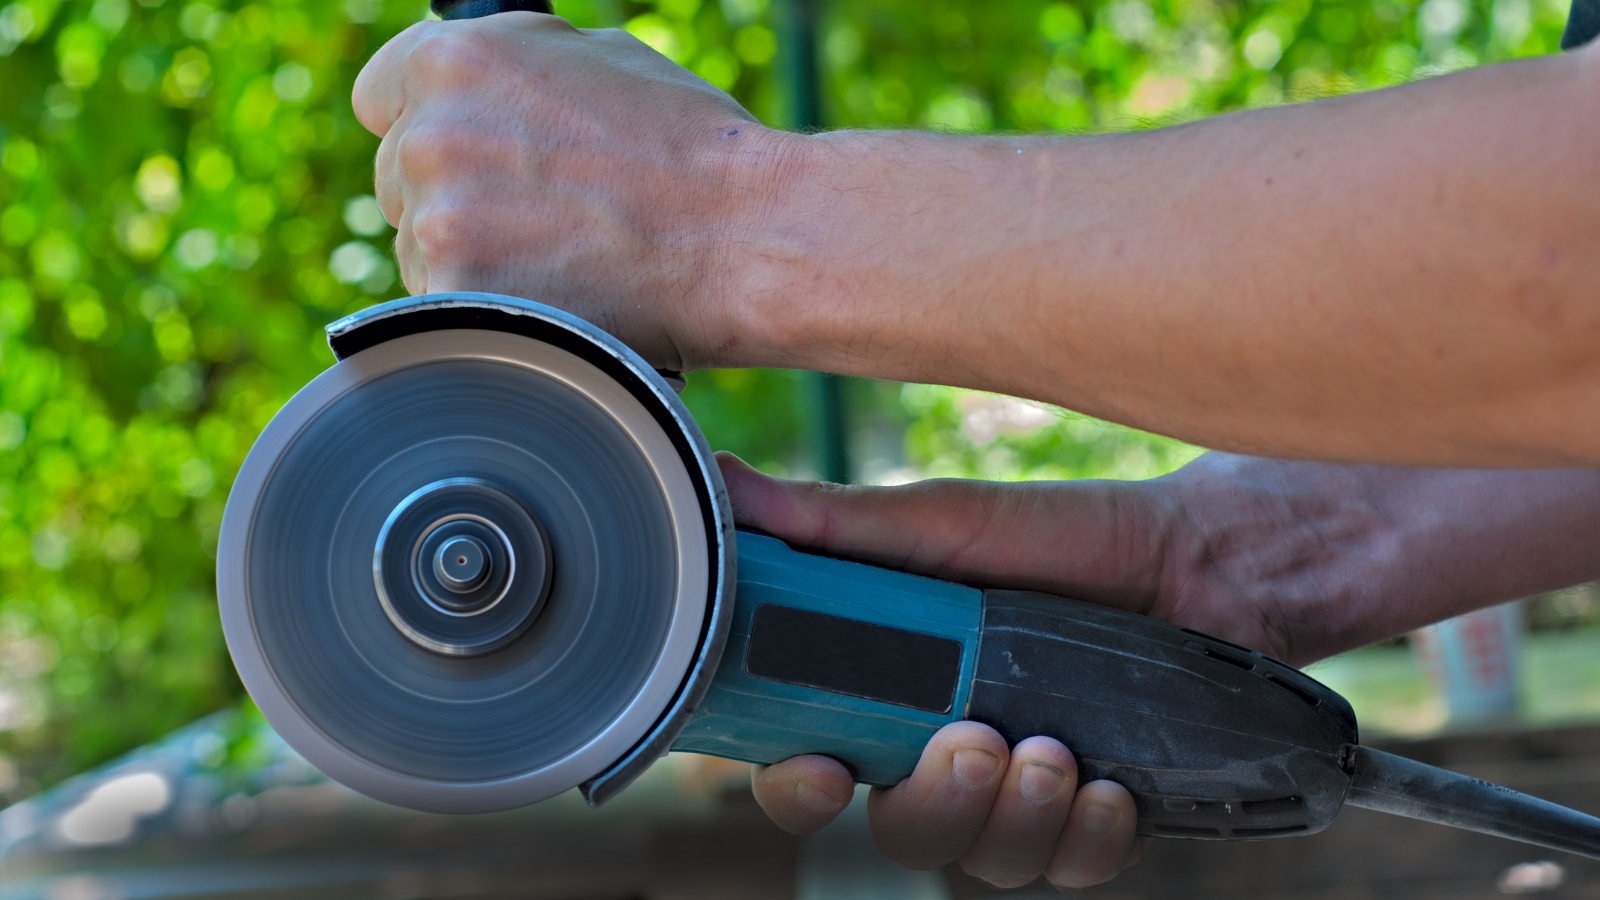
Have you ever struggled to get a disc off an angle grinder? I know exactly how that feels—just staring at the tool and wondering what to do next.
Knowing how to swap out the disc quickly can save you a lot of time and frustration. It’s also really important for staying safe and making sure your grinder lasts a long time. Whether you’re switching to a new disc for a different job or just doing some quick maintenance, knowing the right steps makes the whole process much smoother. In this guide, I’ll show you the right way to do it and share a few tips to make it even easier. Let’s get to it!
Understanding the Angle Grinder and Its Discs
What Is an Angle Grinder?
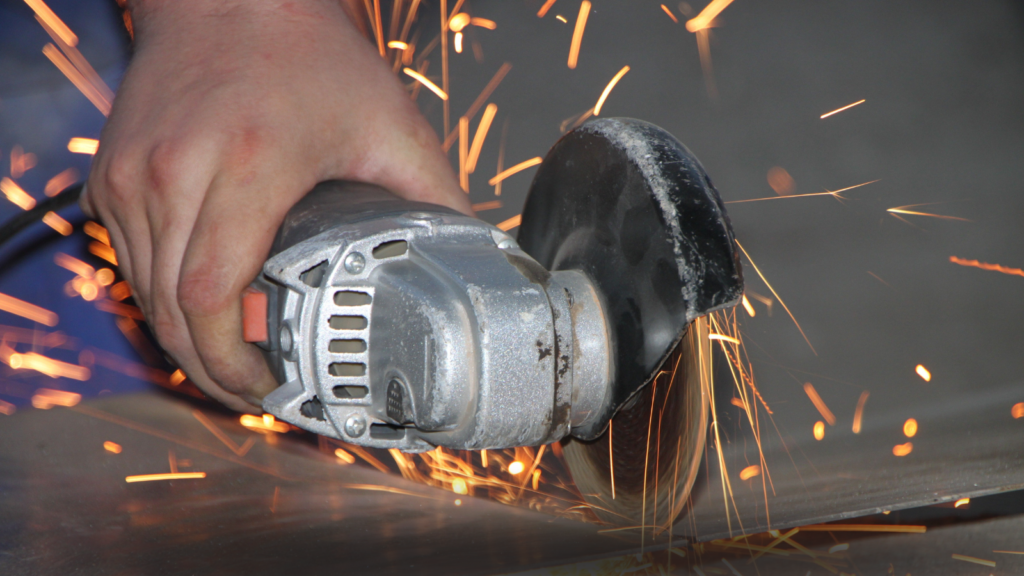
An angle grinder is a powerful tool that can do many different jobs. It’s used for grinding, cutting, and polishing. You might use it to smooth rough edges, cut through metal, or clean up welding. If you’ve ever had a project that involved tough materials, an angle grinder is the right tool for the job. It’s a simple tool, but you must know how to use it well to get the best results.
Types of Discs on an Angle Grinder
Angle grinders can use different types of discs, each for a specific task. There are grinding discs for smoothing surfaces, cutting discs for slicing through materials, and polishing pads for a shiny finish. Choosing the right disc is important to ensure smooth work and good results. It is like picking the right tool for the job—it makes all the difference.
How to Identify the Right Disc for Different Tasks
Picking the right disc is easy once you know what to look for. Grinding discs are thick and made for smoothing. Cutting discs are thinner and sharper for cutting through tough materials. Polishing pads are soft and used for finishing work. Check the label or look at the disc to ensure you use the right one. For example, a cutting disc is best if you need to cut metal. Using the wrong disc can slow you down or even cause damage.
Importance of Correctly Changing the Disc
Changing the disc when needed is crucial for safety and getting the job done right. A worn-out or wrong disc can break or cause accidents. Keeping your discs fresh and switching them when needed helps the grinder work better and prevents damage to your tool. It’s like keeping your car in good shape—regular maintenance helps everything run smoothly.
This version is rewritten to be even more straightforward to read. It breaks things down simply and directly, so it’s easier for anyone to understand the key points about angle grinders and their discs.

Step-by-Step Guide to Removing the Disc
Removing a disc from your angle grinder doesn’t need to be hard. I’ll walk you through the steps to make it quick and simple.
Safety First
Safety is the most important thing before you touch the grinder. Always unplug the grinder or remove the battery if it’s cordless. This prevents the tool from turning on by mistake.
Don’t skip safety gear. Wear gloves to protect your hands and safety goggles to protect your eyes from flying dust or debris. Putting these on only takes a second, but it can save you from a painful accident.
Gather the Tools You’ll Need
Next, prepare your tools. To loosen the disc, you’ll need a Ryobi Angle Grinder Spanner. Check the grinder’s box or buy one at a store if you don’t have one.
Sometimes, a blade removal tool can help if the disc is stuck. It’s not always needed, but it can make things easier when the disc is tight.
Release the Locking Mechanism
Now, you’ll need to release the spindle lock. This is a button or lever on the grinder that stops the spindle from spinning.
Press and hold the spindle lock while turning the nut counterclockwise. This will free up the nut, allowing you to loosen it and remove the disc.
Remove the Disc
With the lock engaged and the nut loose, it’s time to remove the disc. Use the spanner tool to finish loosening the nut. It might feel tight initially but should come off easily once you break the initial resistance.
If the disc is stuck, don’t force it. I once had a disc stuck so tight I thought it was never coming off! A quick spray of penetrating oil can help loosen it. Let it sit for a few minutes, then try again.
Check for Any Issues
Before installing a new disc, inspect the grinder and disc. Look for any signs of damage, especially around the locking mechanism. A quick check now can prevent issues later.
That’s it! Removing the disc from your angle grinder doesn’t have to be hard. By following these simple steps, you can change discs safely and easily. Remember to stay safe, use the right tools, and check everything before starting your next project!
How to Change the Blade on an Angle Grinder
Changing the blade on your angle grinder is easy once you know the steps. Let’s walk through it!
Tools You’ll Need
Before you start, gather your tools. You’ll need a Ryobi angle grinder spanner, the correct blade for your job, and your safety gear (gloves and goggles). Having everything ready will make the task easier and safer.
Step-by-Step Blade Change
Changing the blade is almost the same as removing the disc. Here’s how to do it:
- Safety First: Always unplug the grinder or take out the battery if it’s cordless. Don’t forget your gloves and goggles for protection!
- Release the Locking Mechanism: Press the spindle lock on your grinder. This keeps the spindle steady while you work.
- Loosen the Nut: Use the Ryobi angle grinder spanner to turn the nut counterclockwise. It should come loose with a little effort. If it’s tough to move, tap the spanner lightly with a mallet.
- Remove the Old Blade: Take off the old blade once the nut is loose. Check if it’s still good to use or if it needs replacing.
- Attach the New Blade: Place the new blade on the spindle. Make sure it’s in the correct position. Then, tighten the nut back on with the spanner tool, turning it clockwise until it’s secure.
Common Mistakes and How to Avoid Them
One mistake I made was not tightening the blade enough. I once had a blade slip off in the middle of a job! Make sure the nut is tight before you use the grinder.
Also, be careful to use the right blade for the task. Using a blade meant for metal when you need one for concrete won’t work well and might damage your tool.
That’s it! Changing the blade is simple. Follow these easy steps, stay safe, and your grinder will be ready for your next project.
Tips and Tricks for Easier Disc Removal
Removing a stuck disc from your angle grinder can be frustrating. I’ve been there, and I know how annoying it can be. But I’ve learned a few simple tricks that make it much easier. Let me share them with you so you can save time and avoid stress.
Use of Lubricants or Penetrating Oil for Stubborn Discs
One trick I use when a disc is stuck is penetrating oil. It works wonders. If your disc won’t budge, spray a little oil—like WD-40—around the nut and the disc. Let it sit for a few minutes. The oil helps loosen any rust or buildup, making it much easier to remove the disc. It’s a quick and simple fix, saving you much time.
Tip: Keep some penetrating oil nearby, especially if you use your grinder often. It’s a small investment that pays off.
When to Ask for Professional Help
Sometimes, the disc won’t come off, no matter what you try. I’ve been stuck in this situation before, and while it’s tempting to keep trying, it’s better to ask for help. If you’ve tried oil and a spanner and still can’t remove the disc, it might be time to take your grinder to a professional. Forcing it can damage the grinder or the disc, and that could cause bigger issues. When in doubt, a pro can help get it fixed safely.
Maintaining Your Angle Grinder for Easier Disc Removal
The best way to avoid stuck discs is regular maintenance. I learned this the hard way. Grime and dust can build up after using the grinder a few times. Clean your grinder after each use to keep it running smoothly. A deeper clean every few months also helps. It keeps the spindle and threads in good shape, making disc removal much easier.
By caring for your grinder, you’ll prevent most issues from happening. Just like keeping your car clean, a little upkeep can save you a lot of trouble later.
FAQs About Removing Discs and Changing Blades
How do I know when to replace the disc on my angle grinder?
You’ll know it’s time to replace the disc if you see cracks, chips, or wear. Also, if it feels like the grinder isn’t cutting or grinding as well as before, it’s a sign. A dull disc can slow you down and cause accidents, so don’t wait too long to swap it out!
Can I use a regular wrench instead of a Ryobi angle grinder spanner?
You can use a regular wrench, but it’s not a great idea. The Ryobi spanner fits perfectly, making it safer and easier to remove the disc. A regular wrench might not fit right and could damage the nut. Stick with the right tool to avoid problems.
Why is the disc so tight and hard to remove?
This happens when the nut is tightened too much or if rust and dirt build-up. A little penetrating oil around the nut can help loosen it up. Let it sit for a few minutes; it should come off easier. Don’t force it—this can damage the grinder or disc.
Is there a special tool for removing angle grinder blades?
Some tools remove blades, but a Ryobi spanner is usually fine. It’s designed for the job. A special removal tool is helpful for tough blades, but you don’t need one for every use. If you need it often, it could be worth getting one.
What should I do if my angle grinder won’t release the disc?
If the disc won’t come off, don’t panic! First, check that the grinder is unplugged or the battery is removed. Press the spindle lock again and make sure it’s engaged. If the disc is still stuck, spray some penetrating oil around the nut and give it a few minutes. If it still won’t come off, it might be time to ask a professional. Otherwise, it can cause damage.
Conclusion
Removing and replacing discs on your angle grinder is easy if you follow a few simple steps. Always prioritize safety. Unplug your grinder, wear gloves, and put on safety goggles. Gather your tools, like a Ryobi angle grinder spanner, and release the spindle lock to make removing the disc easier. If the disc is stuck, try some penetrating oil. Regularly clean and maintain your grinder to keep it working smoothly.
Now that you know how to remove and replace a disc safely, use these tips for your next project. Check your angle grinder often to ensure it’s safe and the discs are in good shape. Experiment with different discs for different jobs.
Taking care of your tools can save you time and trouble. It’s like keeping your car well-maintained—small, easy steps can prevent bigger issues later. So, keep your grinder in good condition, and it will last you for years.

Hi, I’m Larry Fish, the mind behind MyGrinderGuide.com.. With a passion for all things kitchen appliances, I created this blog to share my hands-on experience and expert knowledge. Whether it’s helping you choose the right tools for your culinary adventures or offering tips to make your kitchen more efficient, I’m here to guide you. My goal is to make your time in the kitchen not only easier but also enjoyable! Welcome to my world of kitchen mastery!